The path · 4 Expert
Palette and finish
You duplicate the version Default S-H-O as Palette and finish, read what is still timid in it, then push the palette and finish the image with five filters on the starless image: Colour mixer, Levels, Local contrast, Multiscale sharpening and Highlight compression, in that order. You export it as a JPEG.
| Duration | About 15 min: a 2 min 23 s video and the text, without any computing |
|---|---|
| Requirements |
|
| Data set | NGC 7000 (North America Nebula) · Sony A7S, 300 s at ISO 2000 · two dual-band filters (O III / H-alpha, O III / S II) and a night without filter · 72 lights (6 h), master bias, dark and flats, Thomas. Frames shown with their author’s agreement; they are not offered for download |
1Open the version and read it
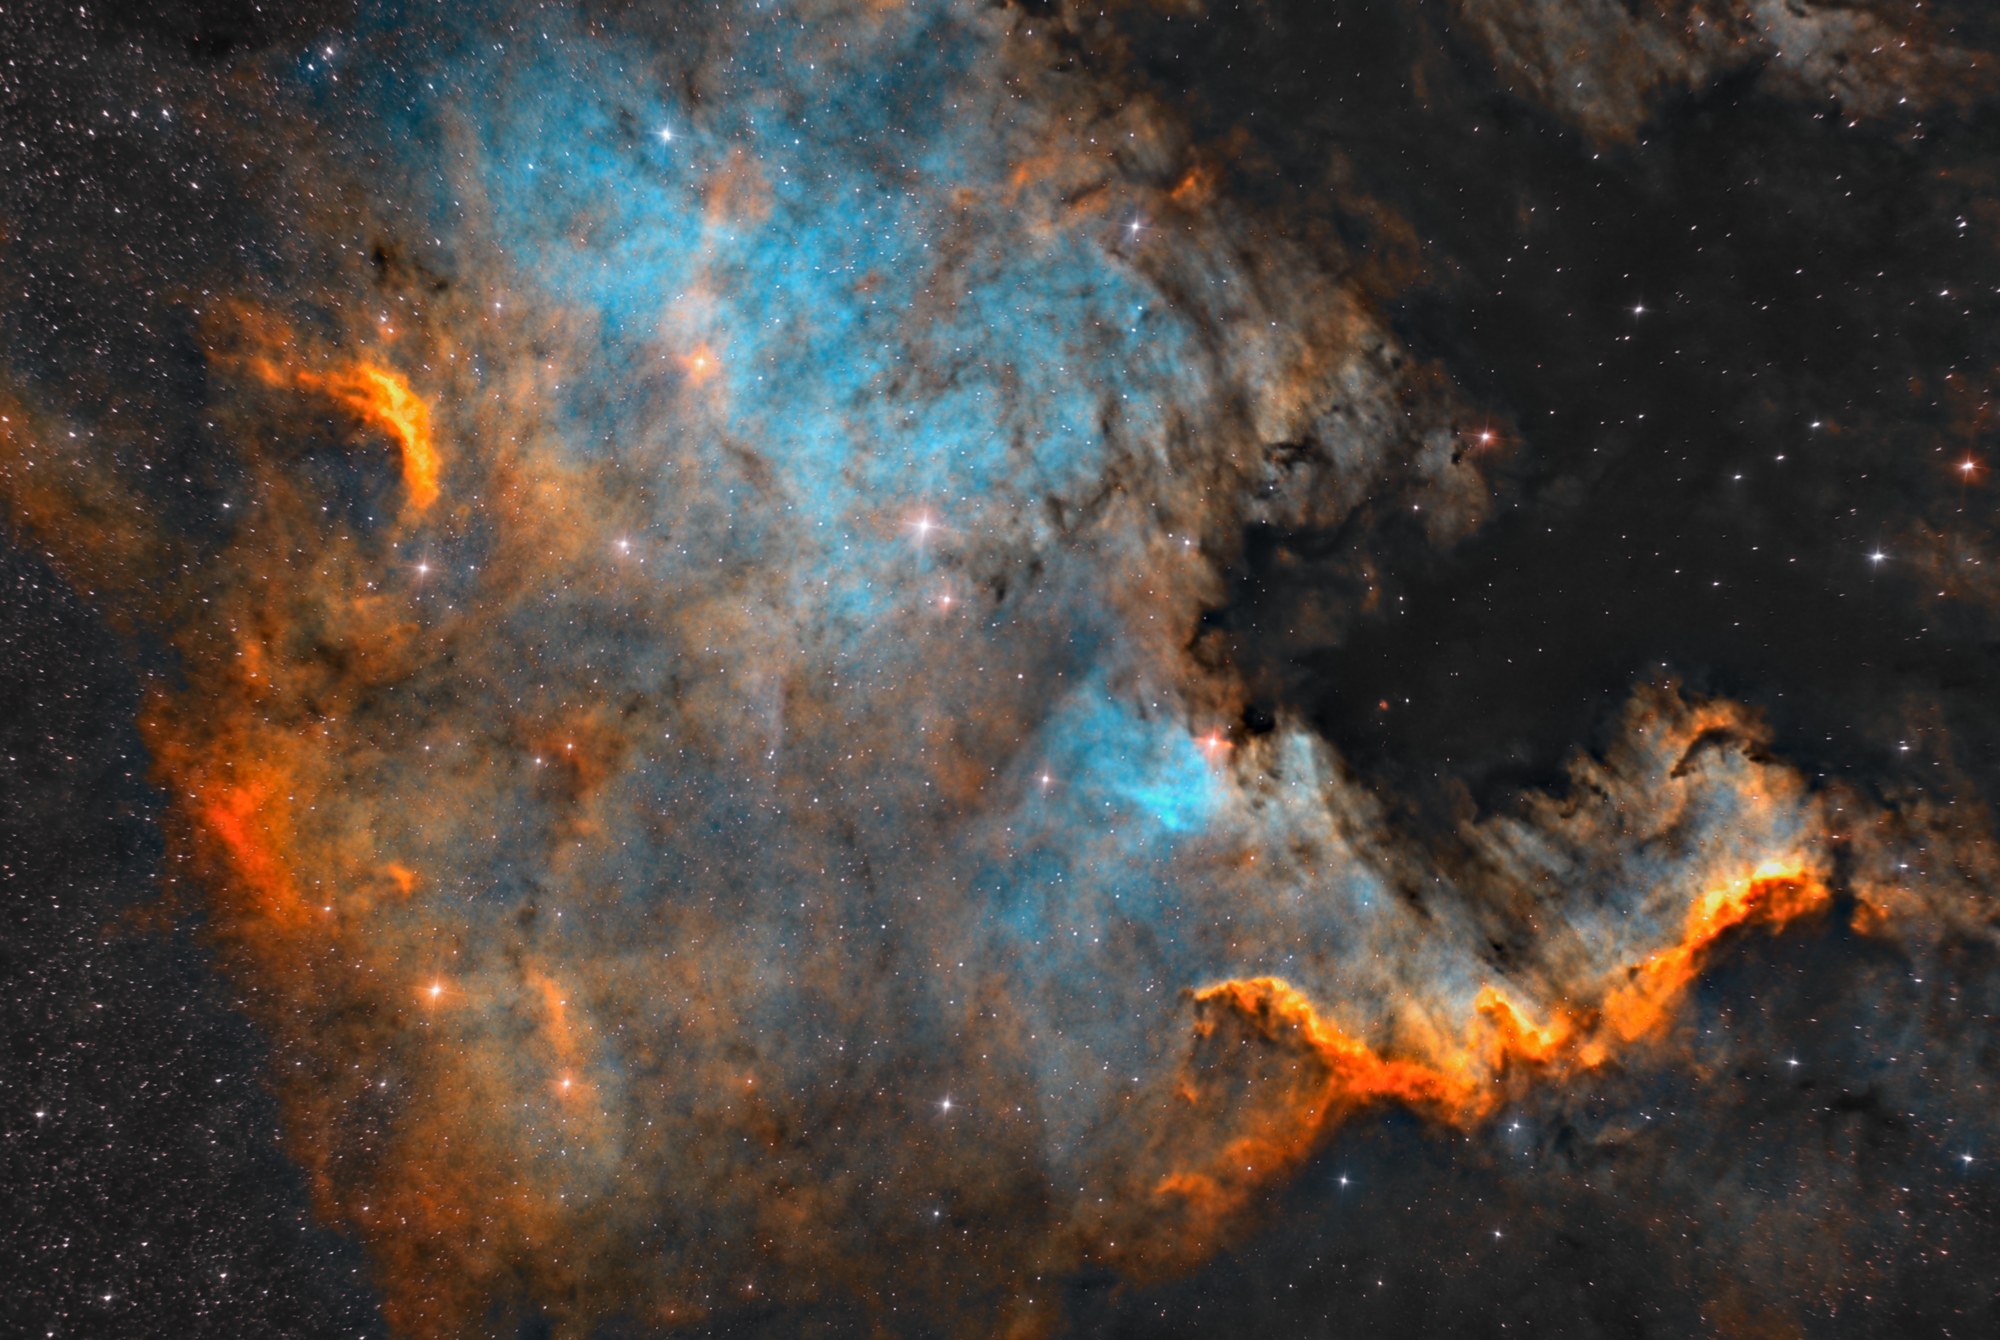
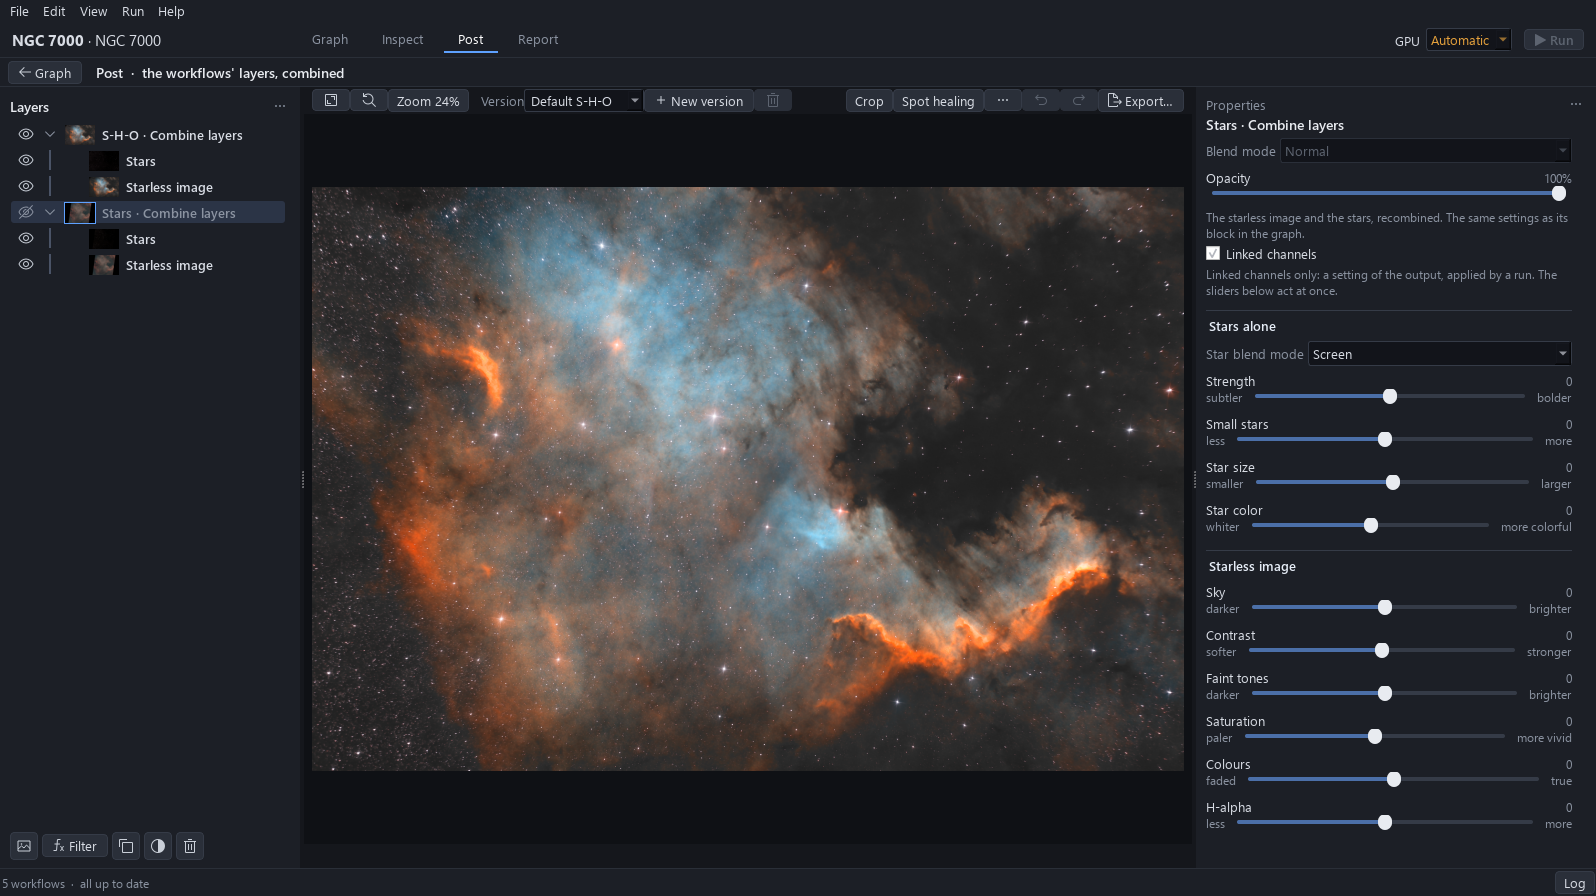
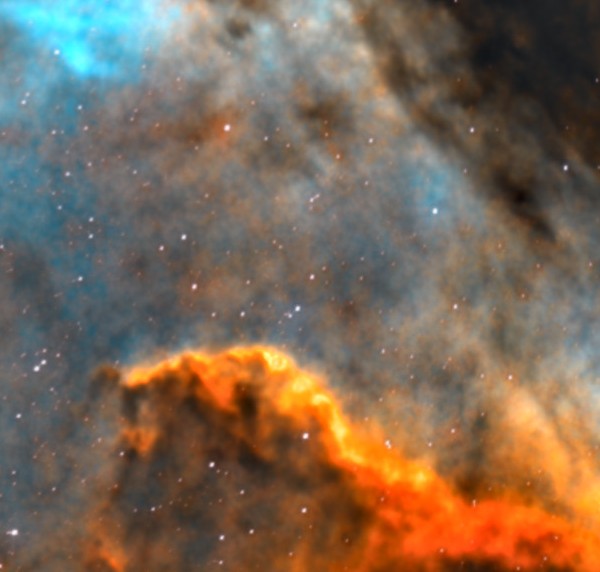
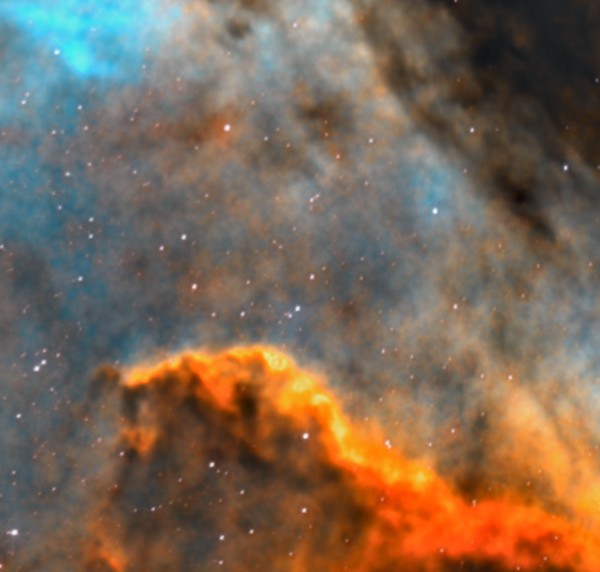
Click Post: it opens on the version Default S-H-O of the previous tutorial. Before any gesture, read what is still wrong: zoom to 100 % on the wall, then fit the picture again and look at the transition between the blue zone and the orange edge. Already right, leave it alone: the noise (the noise filters were tried on this image, with no visible change: 2.79 to 2.64) and the neutrality of the sky.
Why. Reading first tells which filter is needed and in which order; each defect below names its gesture.
To avoid. Judge the sky by eye: here it is about 36 on the 0 to 255 scale of the exported file.
| What is wrong | How it is read | What corrects it |
|---|---|---|
| The palette is still timid | Fitted view: at the transition between the blue zone and the orange edge, the orange and the cyan stay close to each other. | Colour mixer (step 3) |
| Blacks not deep, sky a little light | The dark lane at the top right is a dark grey, about 36 on the 0 to 255 scale of the exported file. | Levels (step 4) |
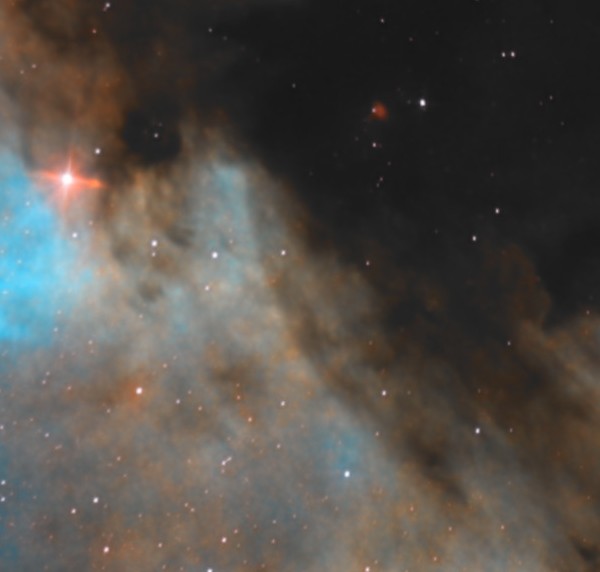
| Soft structure at full size | At 100 % on the wall, the folds and the lanes are soft. | Local contrast and Multiscale sharpening (step 5) |
| The wall’s red will burn | After the two filters above, the pixels with red at 250 or more are 0.95 % of the picture: the wall is pushed into the white. | Highlight compression, last (step 7) |
2Duplicate the version
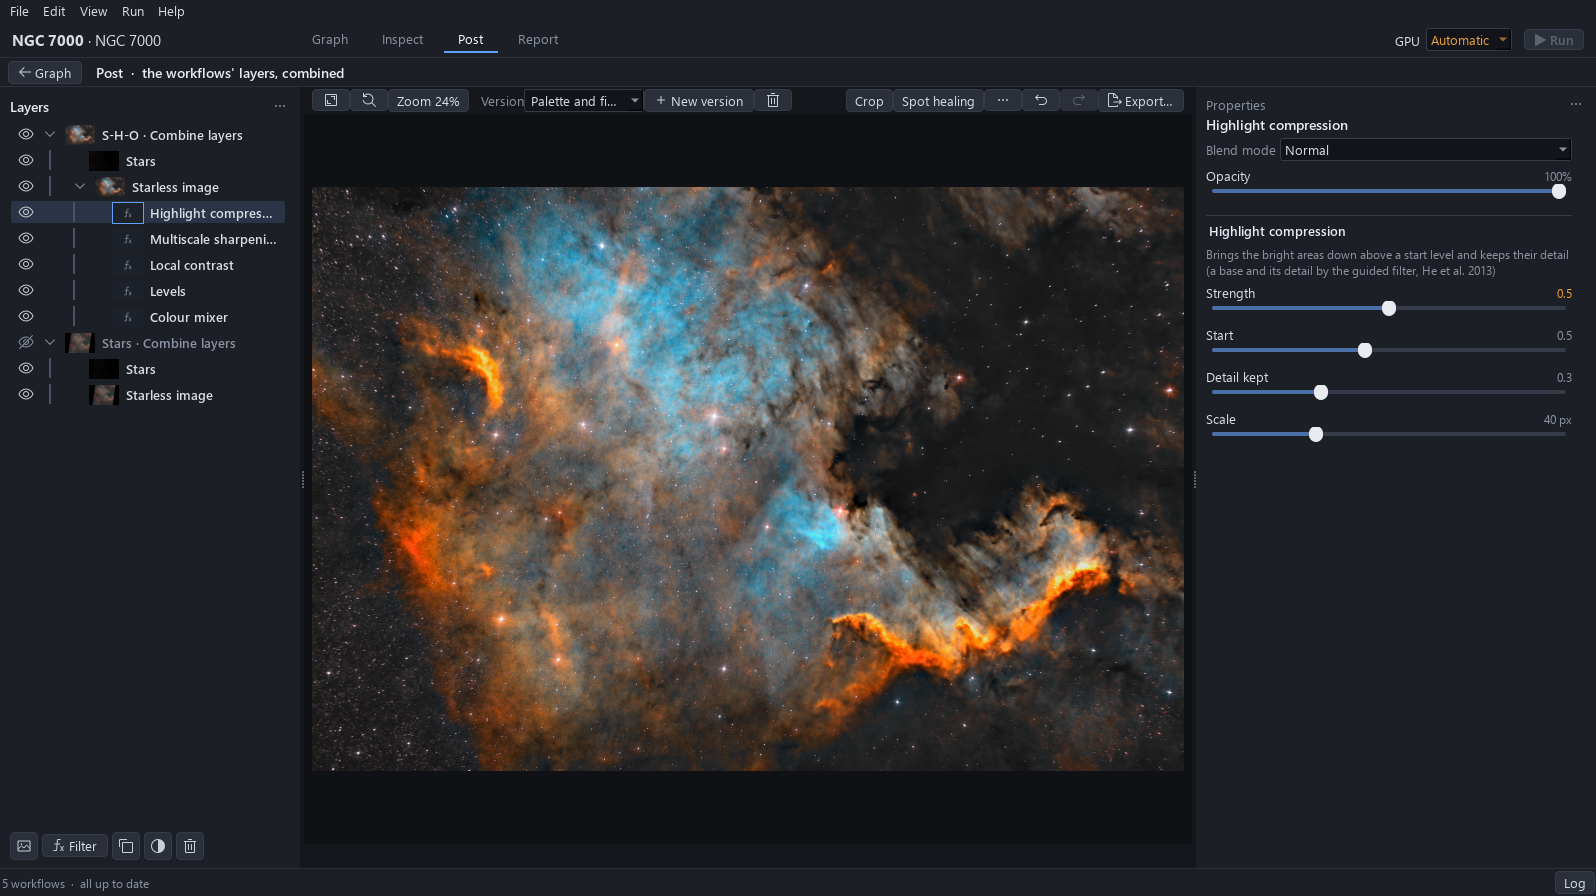
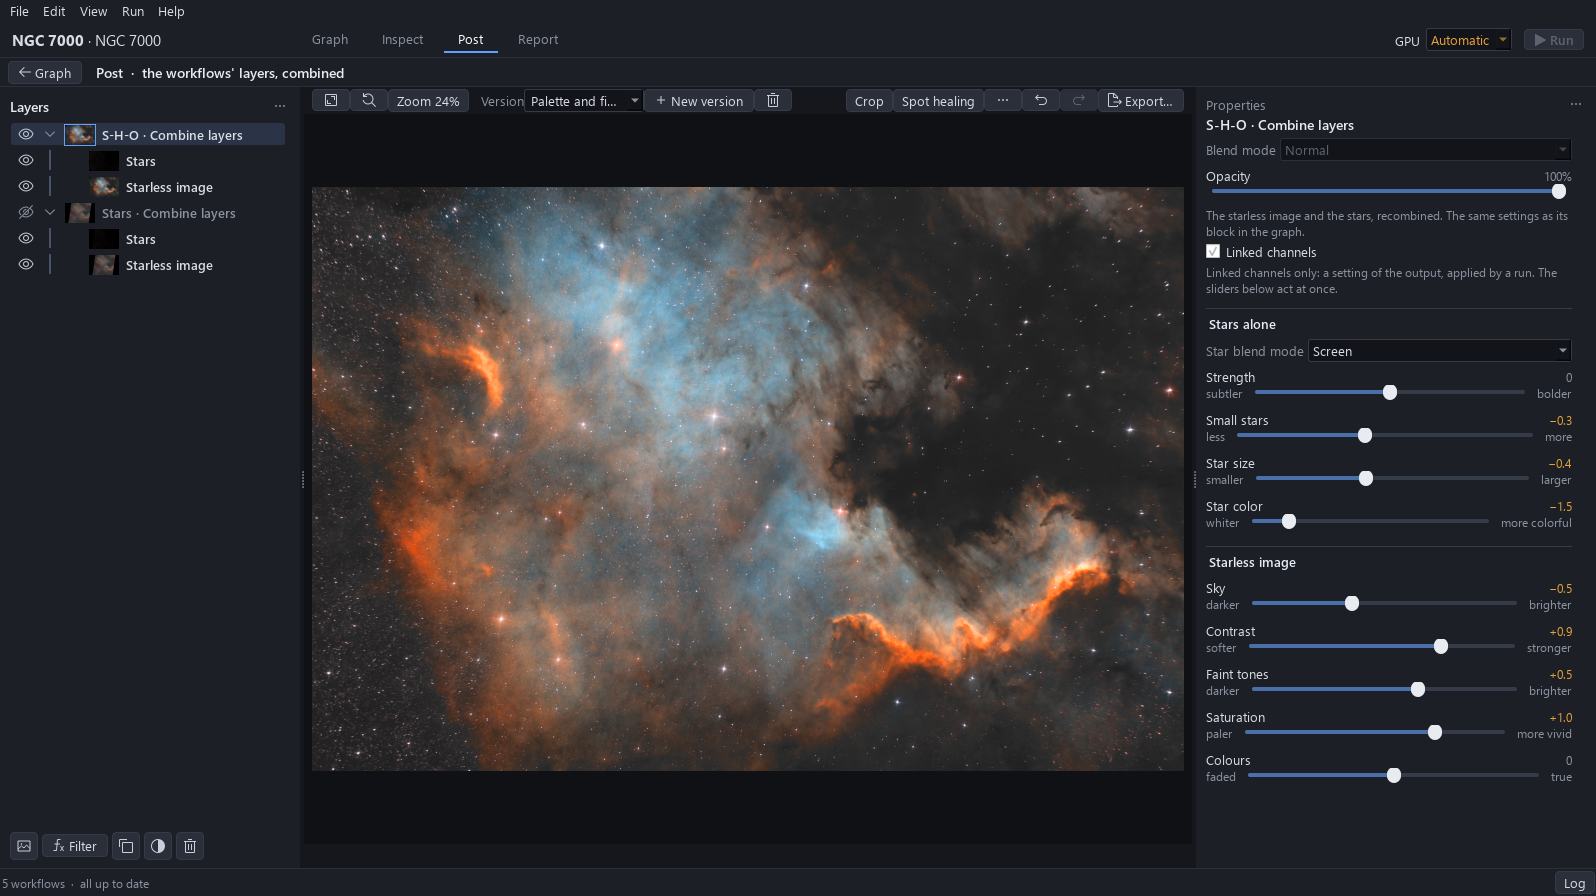
Click New version: it duplicates the current version. Click the name of the copy, select it, type Palette and finish and press Enter. Then select the Starless image sub-layer of the S-H-O layer: the filters added from now on apply to it only, before the stars are put back.
Why. Working on a copy keeps Default S-H-O as it was, ready to compare or to come back to. Filtering the starless image spares the stars: sharpening or saturating them would give rings and colour fringes.
3Separate the gold from the cyan
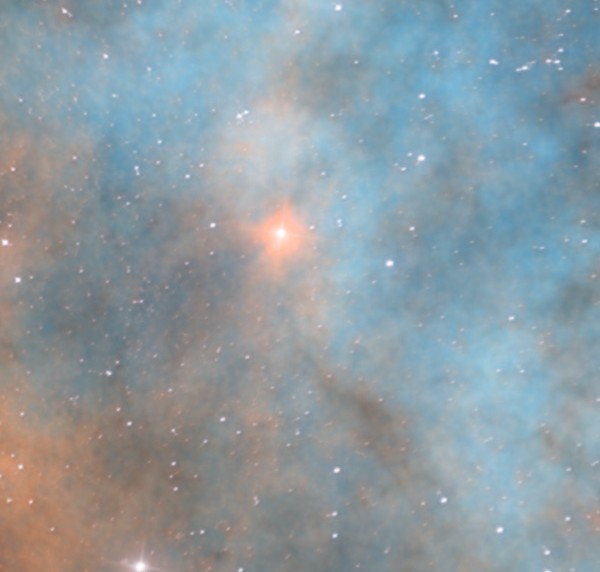
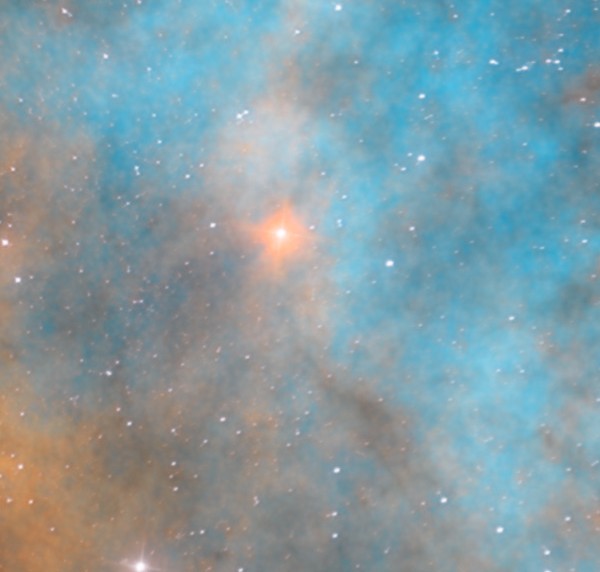
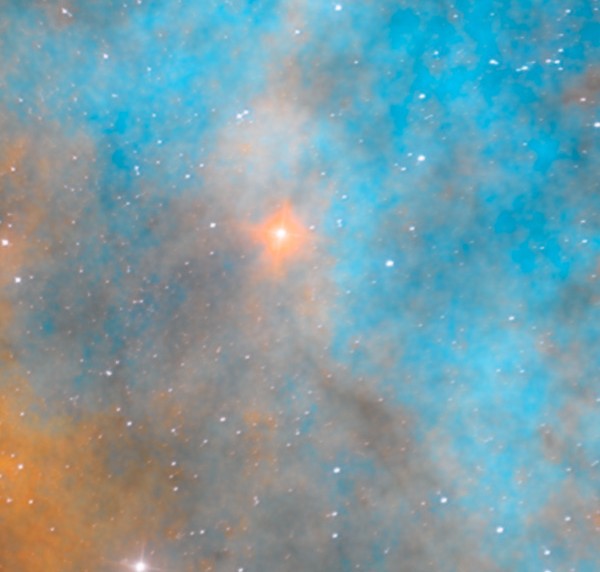
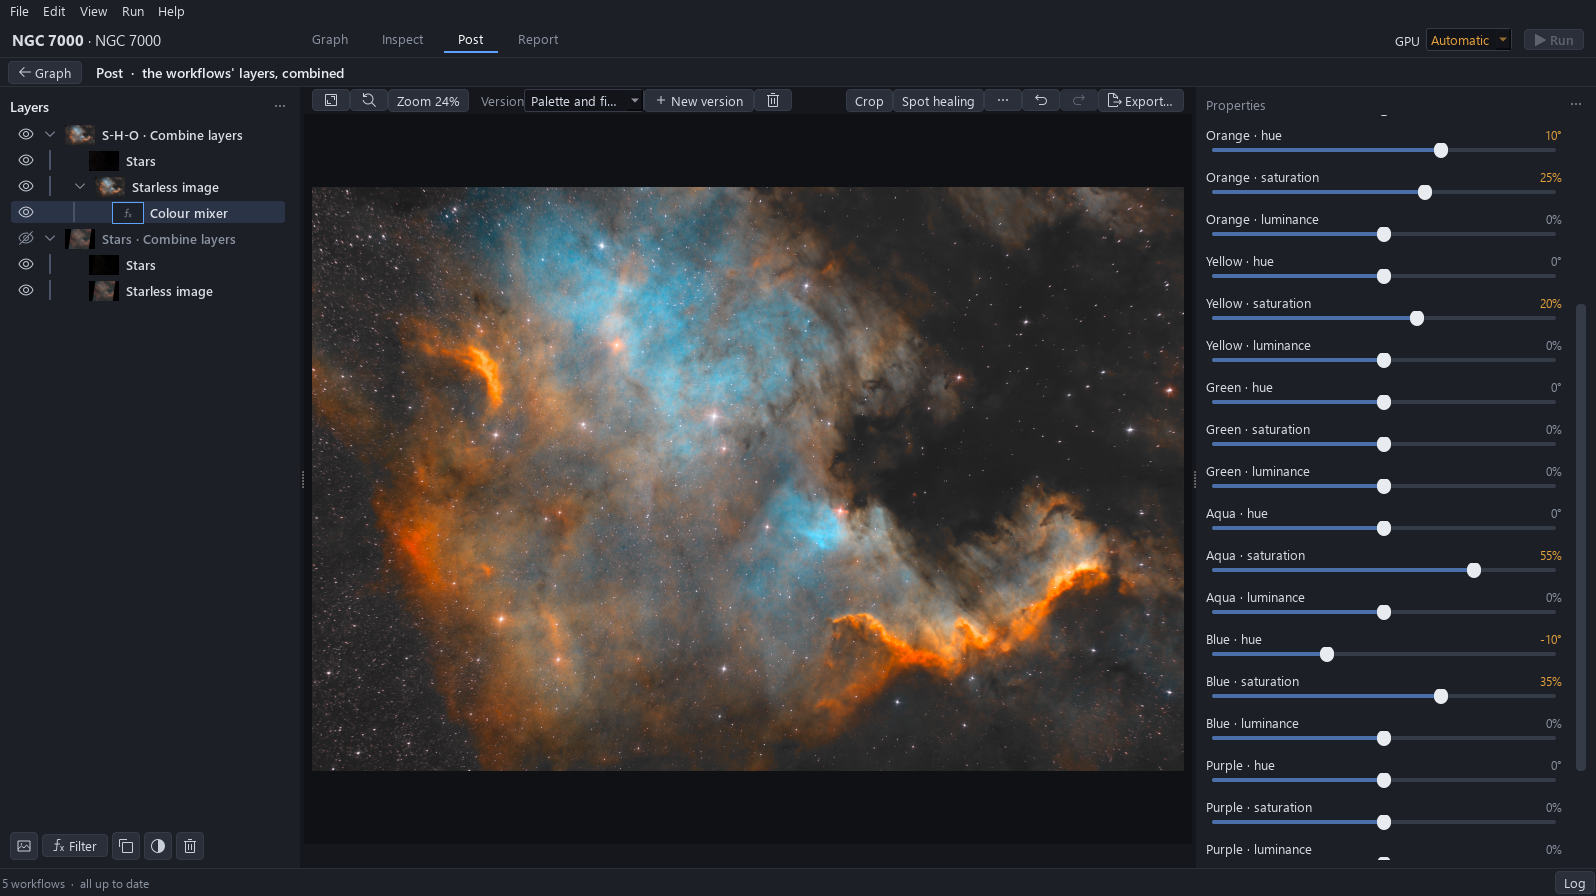
Click Filter, then Color, then Colour mixer. It gives hue, saturation and luminance for eight colour ranges. Push the palette until the gold of H-alpha and S II and the cyan of O III are clearly apart, without any flat, fluorescent area: Orange · hue about +10°, Orange · saturation +25 %, Red · saturation +15 %, Yellow · saturation +20 %, Aqua · saturation +55 %, Blue · saturation +35 %, Blue · hue −10°.
Why. It corrects the timid palette: it separates the gold of H-alpha and S II from the cyan of O III, which is the look expected from this palette. The values stay gentle: with stronger ones, 1.1 % of the picture burnt in red.
4Deepen the blacks
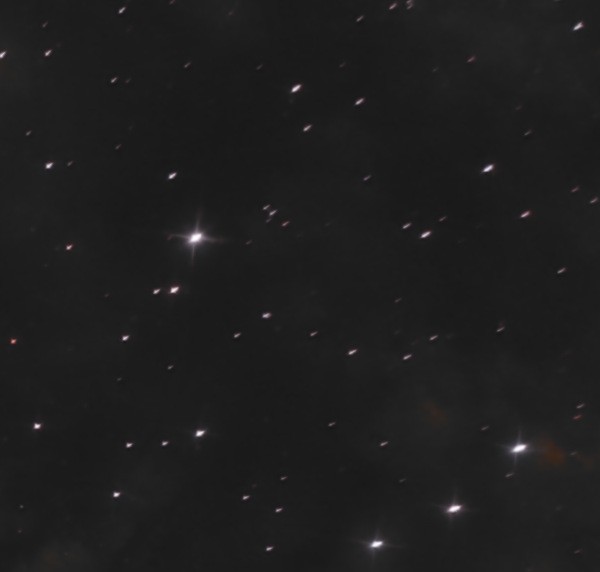
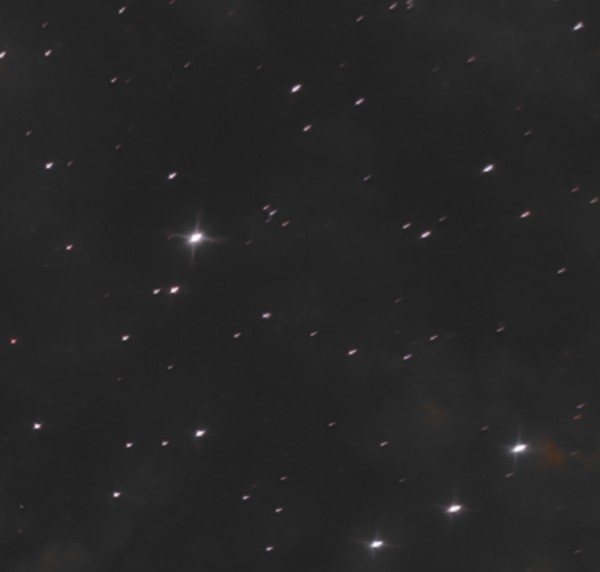
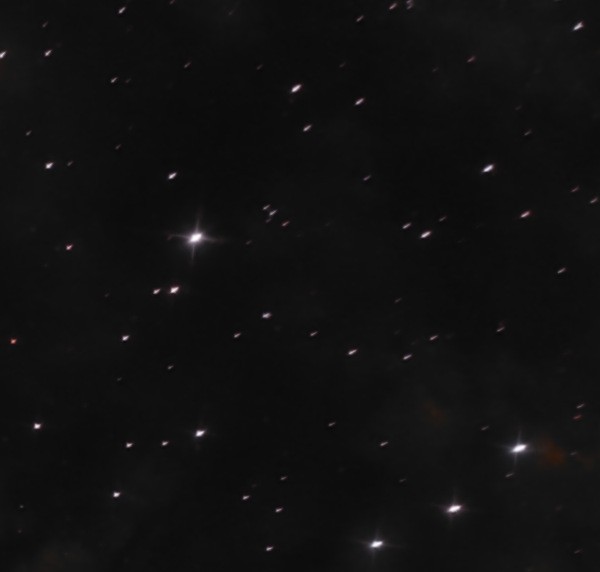
Click Filter, then Stretch, then Levels. Raise Black point a little, until the sky is deeper and the dark lanes are really dark: about 0.02. Lower Gamma slightly: about 0.95. The sky goes from about 36 to about 29 on the 0 to 255 scale of the exported file.
Why. It corrects the light sky and the shallow blacks, without touching the colours.
To avoid. Do not go beyond about 0.02: at a black point of 0.08 the sky falls to 15 and the faint gas is swallowed.
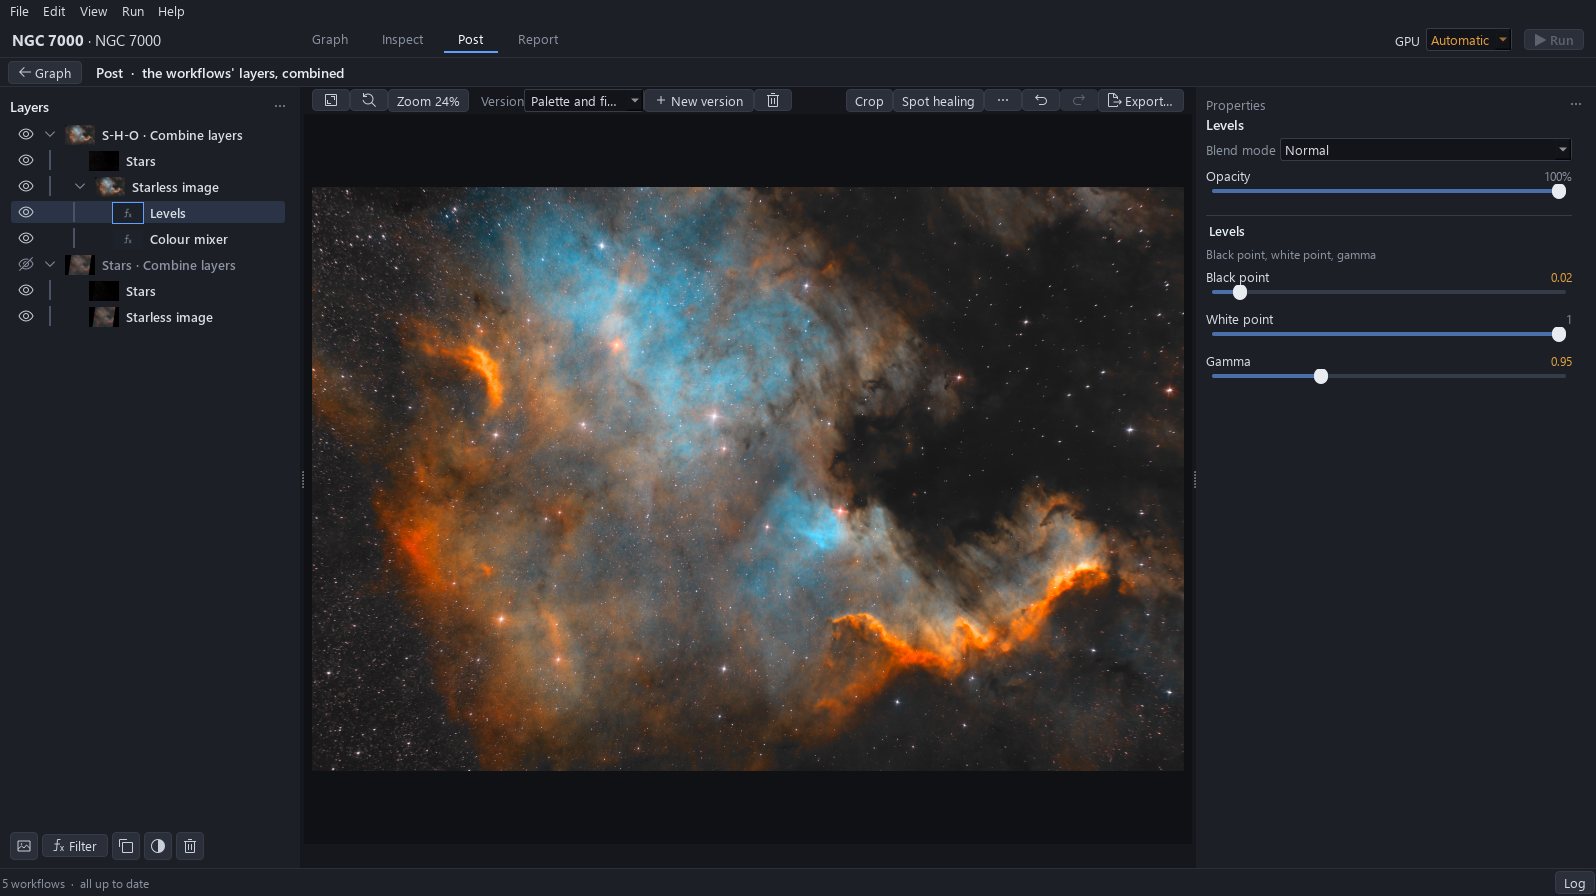
5Bring out the folds of the wall
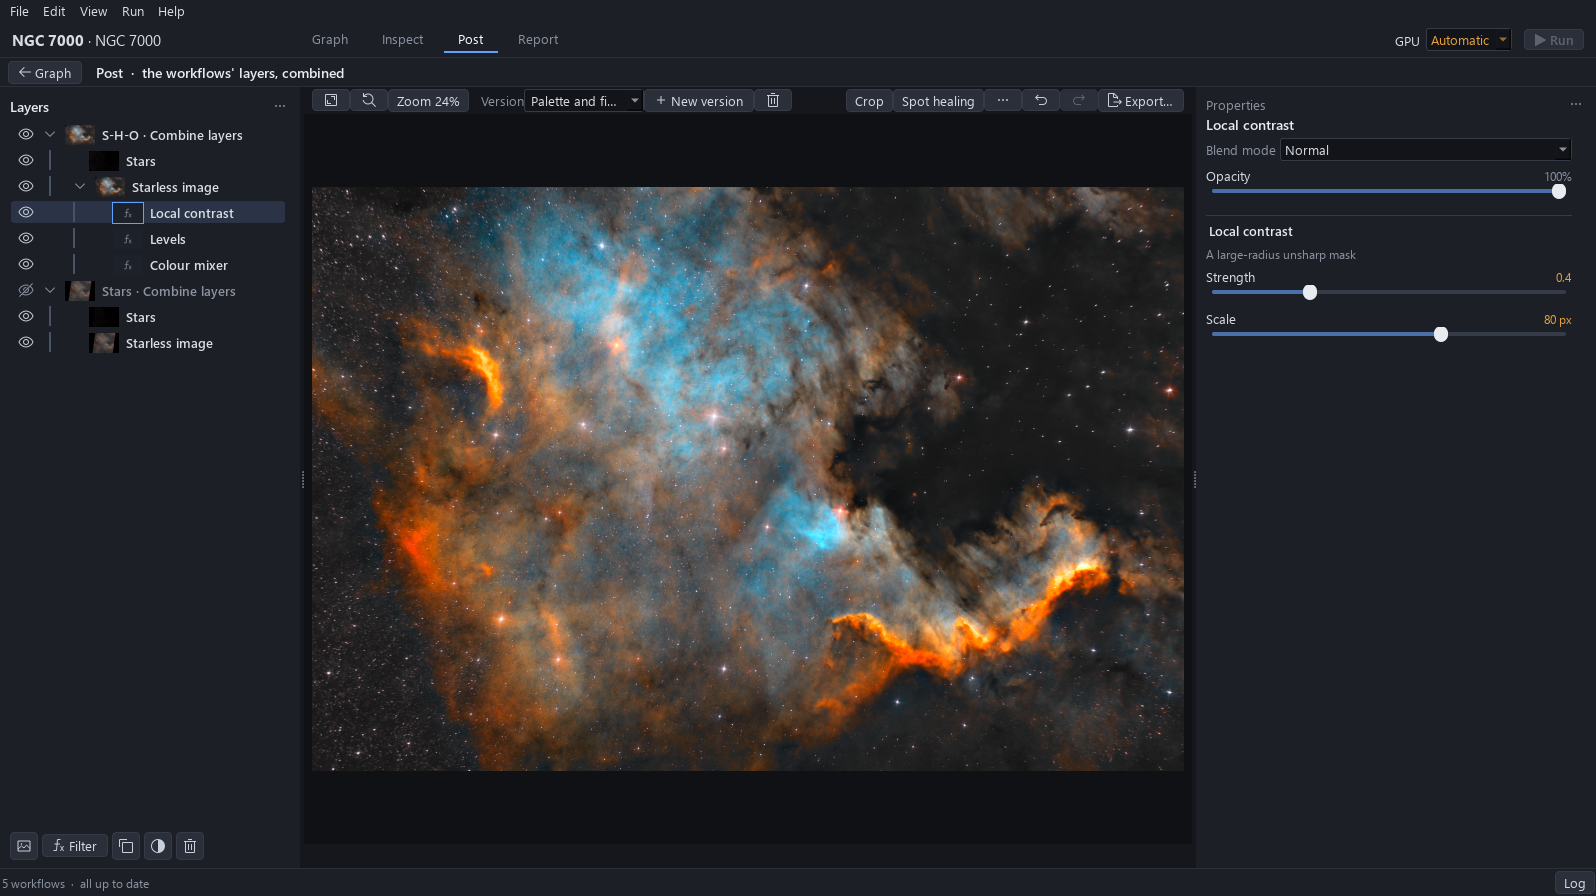
Click Filter, then Contrast, then Local contrast. Raise Strength until the folds of the wall and the lanes stand out: about 0.4. Set Scale to a large radius: about 80 px.
Why. It corrects the soft structure at the scale of the folds, which a global contrast cannot reach. A large radius acts on the shapes of the gas, not on the noise.
6Sharpen the finest texture
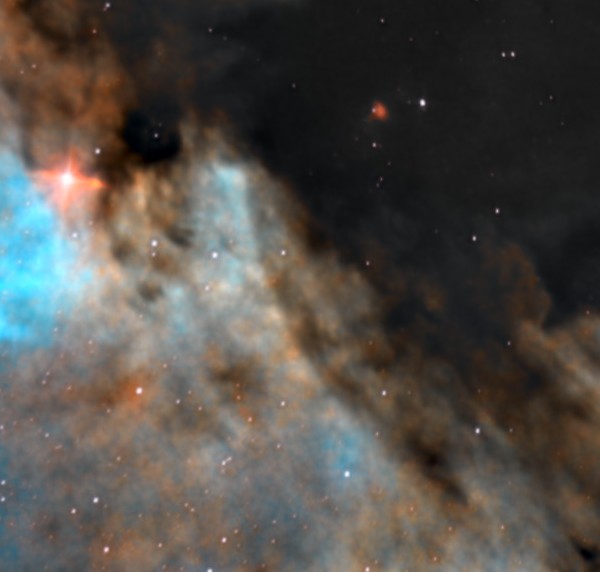
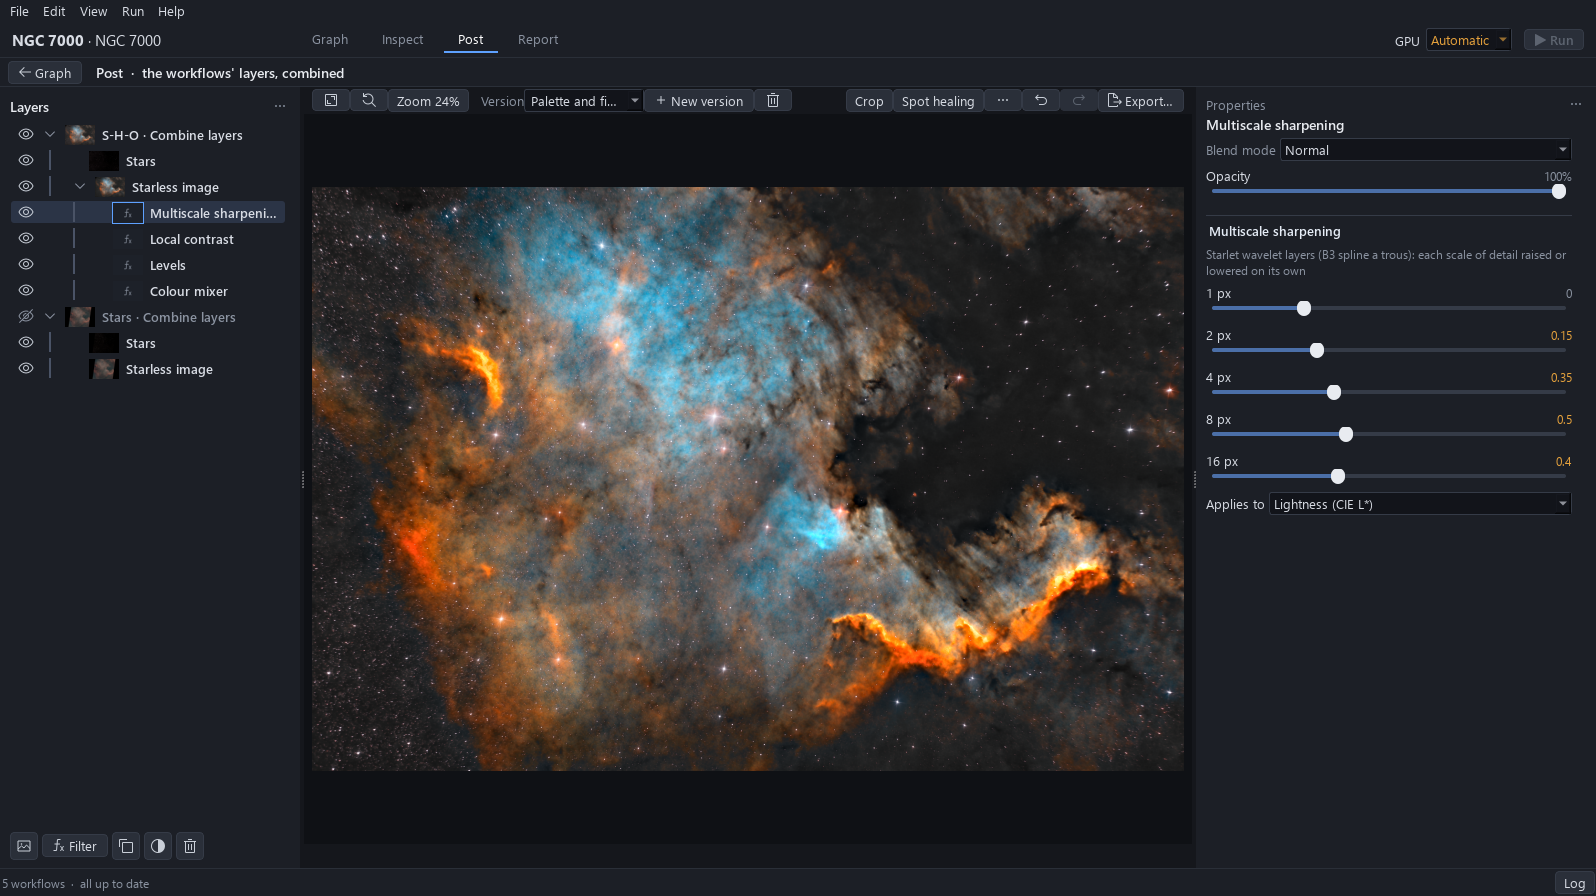
Click Filter, then Detail, then Multiscale sharpening. It raises each scale of detail on its own. Leave 1 px at 0 and give the other scales: 2 px about 0.15, 4 px 0.35, 8 px 0.5, 16 px 0.4. It applies to the lightness, so the colours are not touched.
Why. It gives the finest texture of the gas. Together with local contrast it is what pushes the wall into the white, which the last step corrects.
7Keep the wall from burning
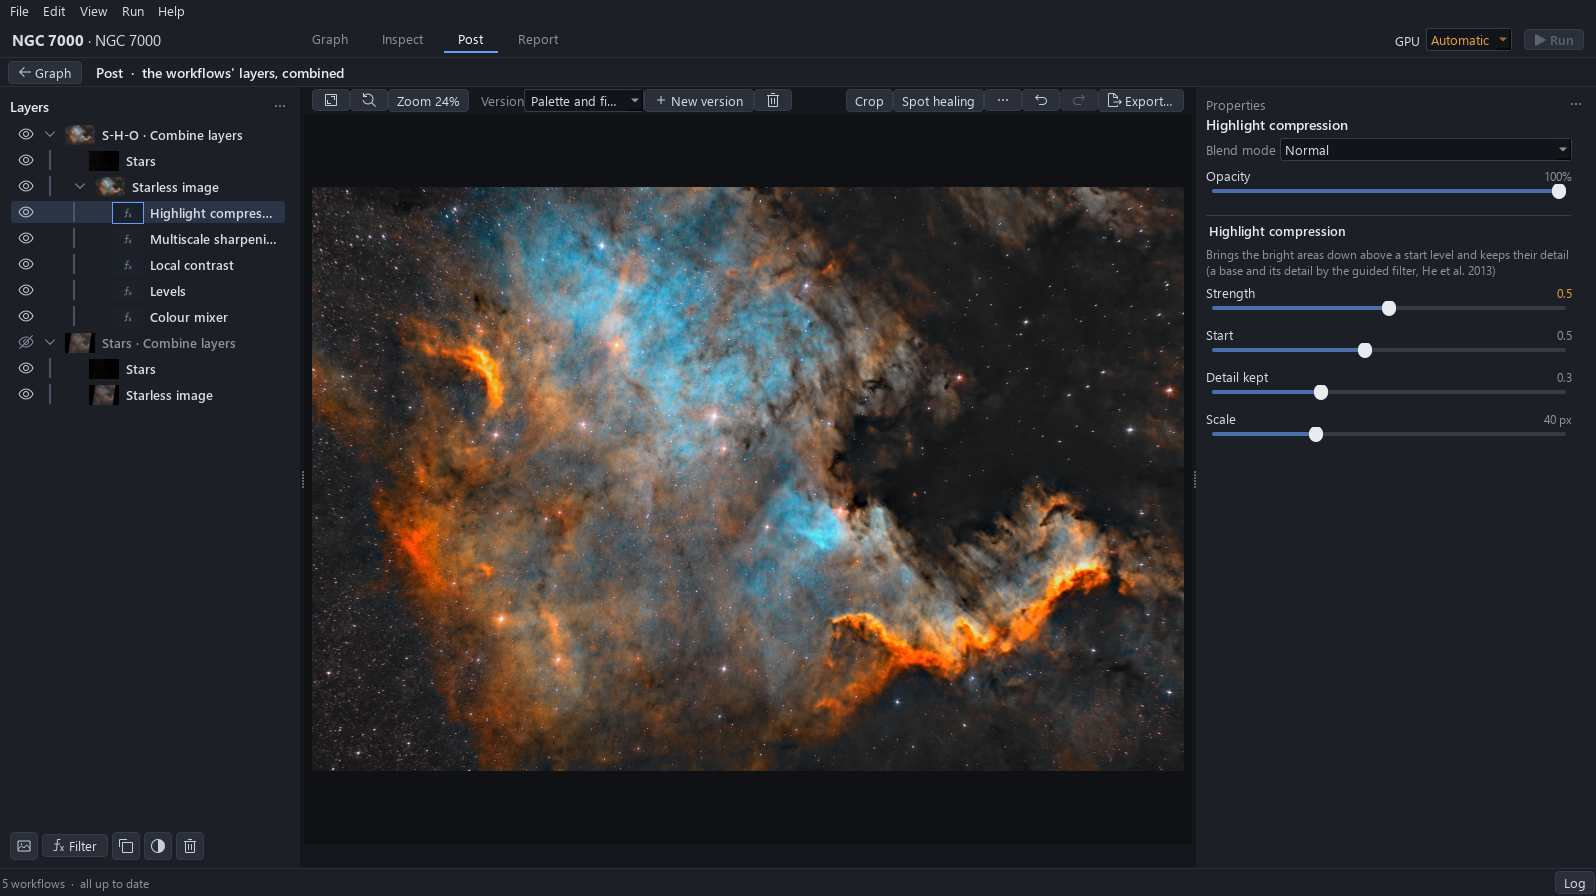
Click Filter, then Contrast, then Highlight compression. Raise Strength until the red of the wall keeps its texture: about 0.5, the other settings left as they come. The pixels with red at 250 or more go from 0.95 % to 0.53 % of the picture.
Why. It corrects the burnt red of the wall. It comes after local contrast and sharpening, because they are what pushed the wall into the white: placed before them, it would leave 0.95 % of the picture burnt.
8Export the picture
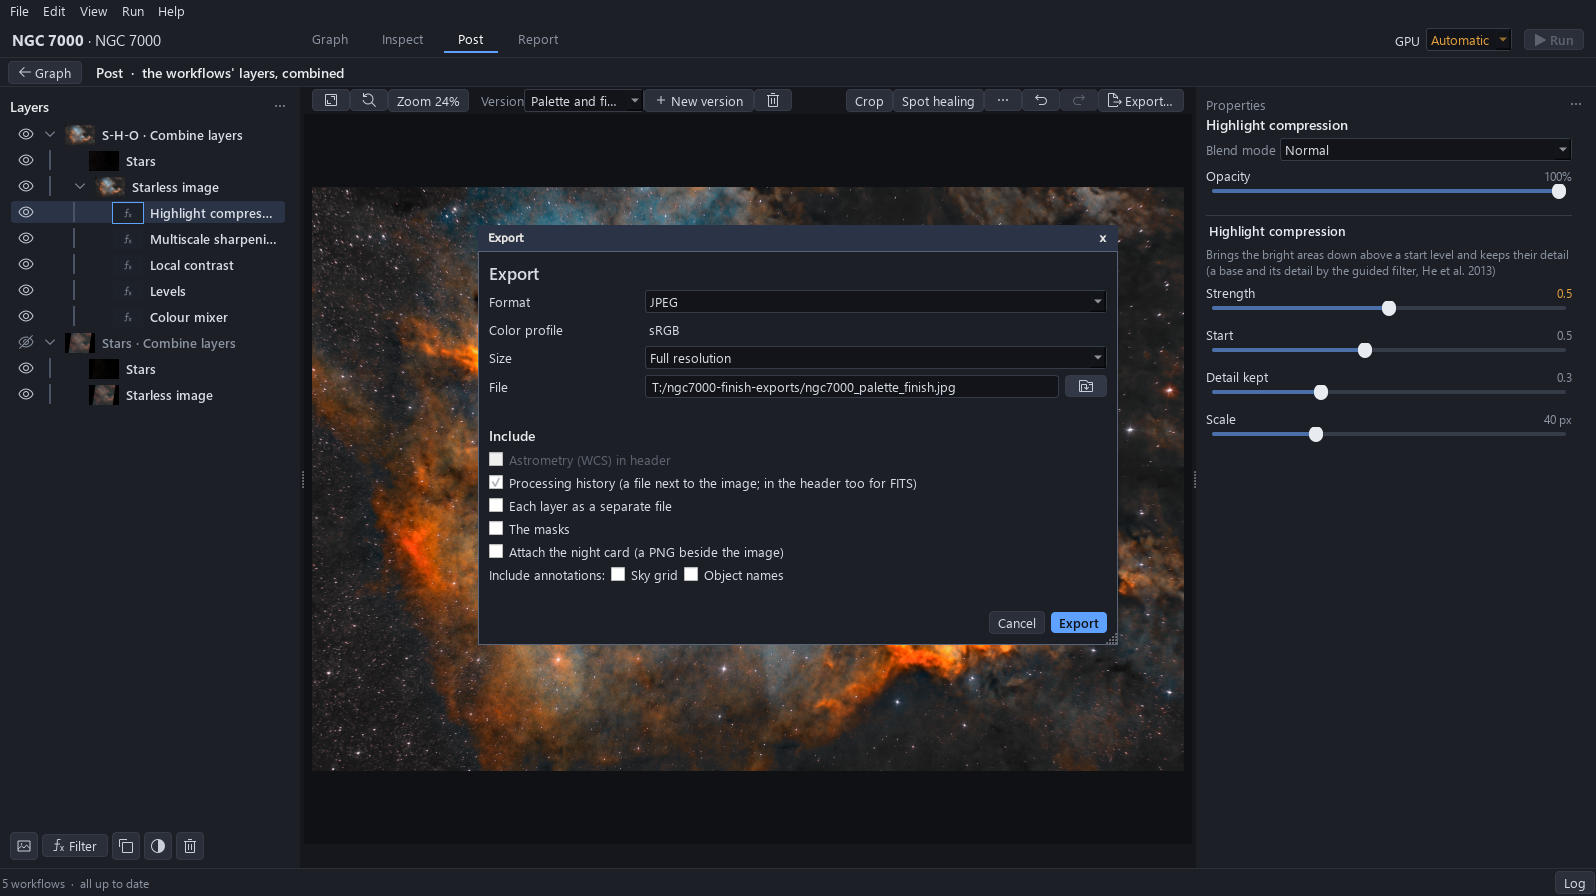
Click Export…, choose the JPEG format, check the file path (on the tutorial drive) and click Export. The sky of the exported file reads about 26 to 29 on the 0 to 255 scale.
Why. The export is the finished picture of this version.
9Save, and what was left out
Press Ctrl+S: the project keeps both versions, Default S-H-O and Palette and finish. Three things were left out on purpose. Noise filters: Multiscale noise reduction and colour Noise reduction were tried and changed nothing visible (noise 2.79 to 2.64), so they are not kept. A gentler mixer than an earlier try of this image: orange, red and yellow at +25, +15 and +20 instead of +45, +25 and +40, because with the earlier values 1.1 % of the picture burnt in red. Whiter stars: Star color at a whiter setting instead of a pinker one, since these stars are seen through O III.
Why. Edits that are not saved are lost when the project is closed. What was left out is as much a decision as what was kept.