The path · 4 Expert
The default S-H-O, read then corrected
You open the S-H-O image as Post gives it, read what is wrong on it before touching anything, then correct it in six gestures: Crop, Sky, Contrast and Faint tones, Saturation, Star color, then Star size and Small stars. You name the version Default S-H-O and export it as a JPEG.
| Duration | About 12 min: a 2 min 14 s video and the text, without any computing |
|---|---|
| Requirements |
|
| Data set | NGC 7000 (North America Nebula) · Sony A7S, 300 s at ISO 2000 · two dual-band filters (O III / H-alpha, O III / S II) and a night without filter · 72 lights (6 h), master bias, dark and flats, Thomas. Frames shown with their author’s agreement; they are not offered for download |
1Open Post and read the picture
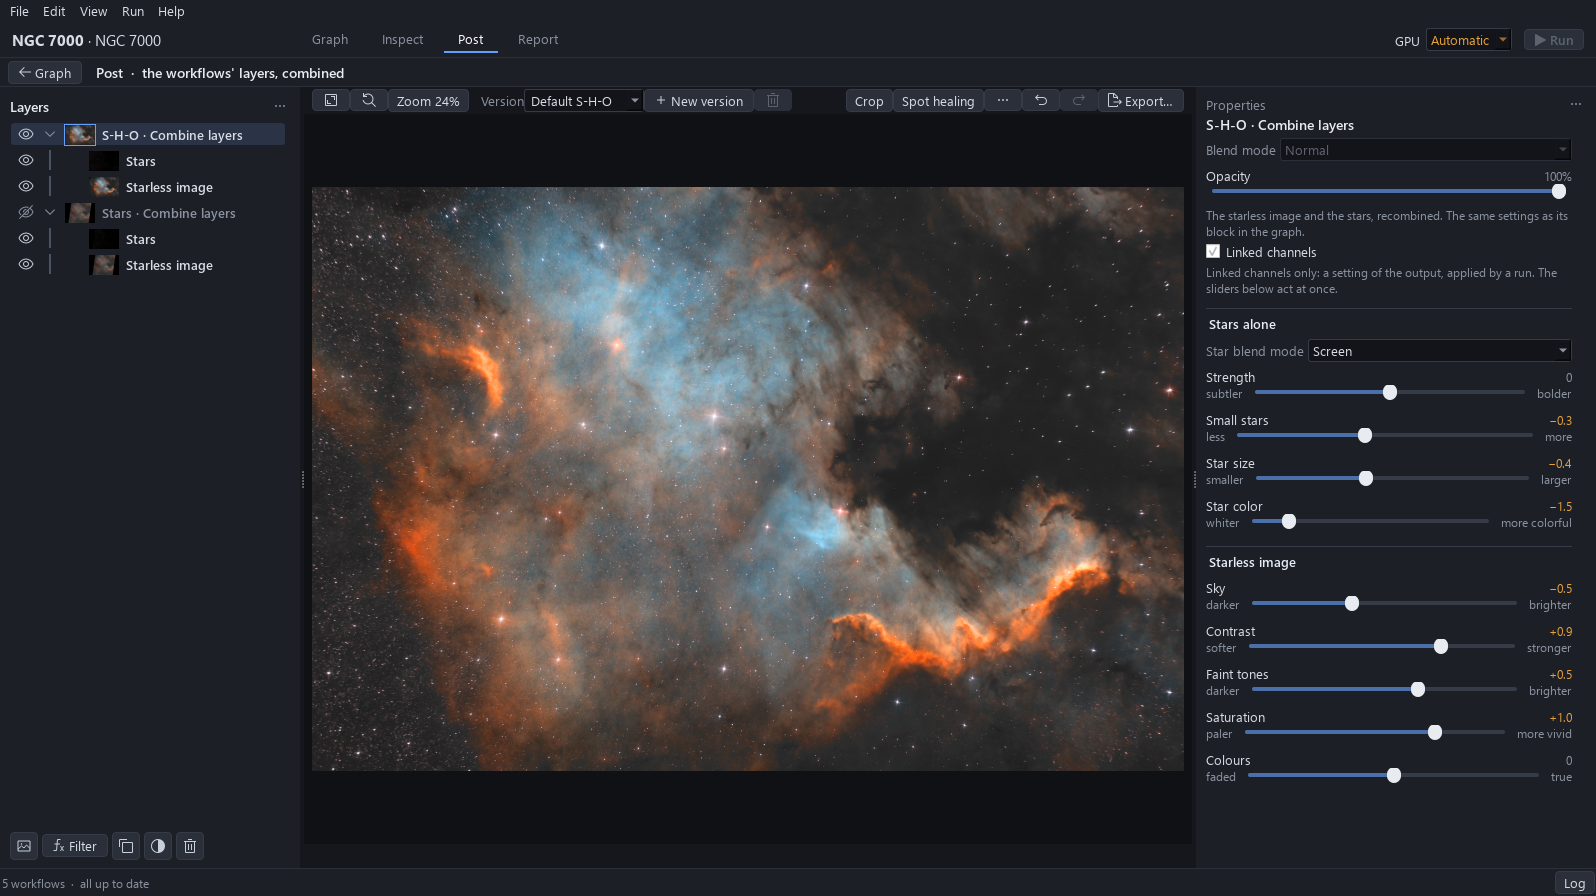
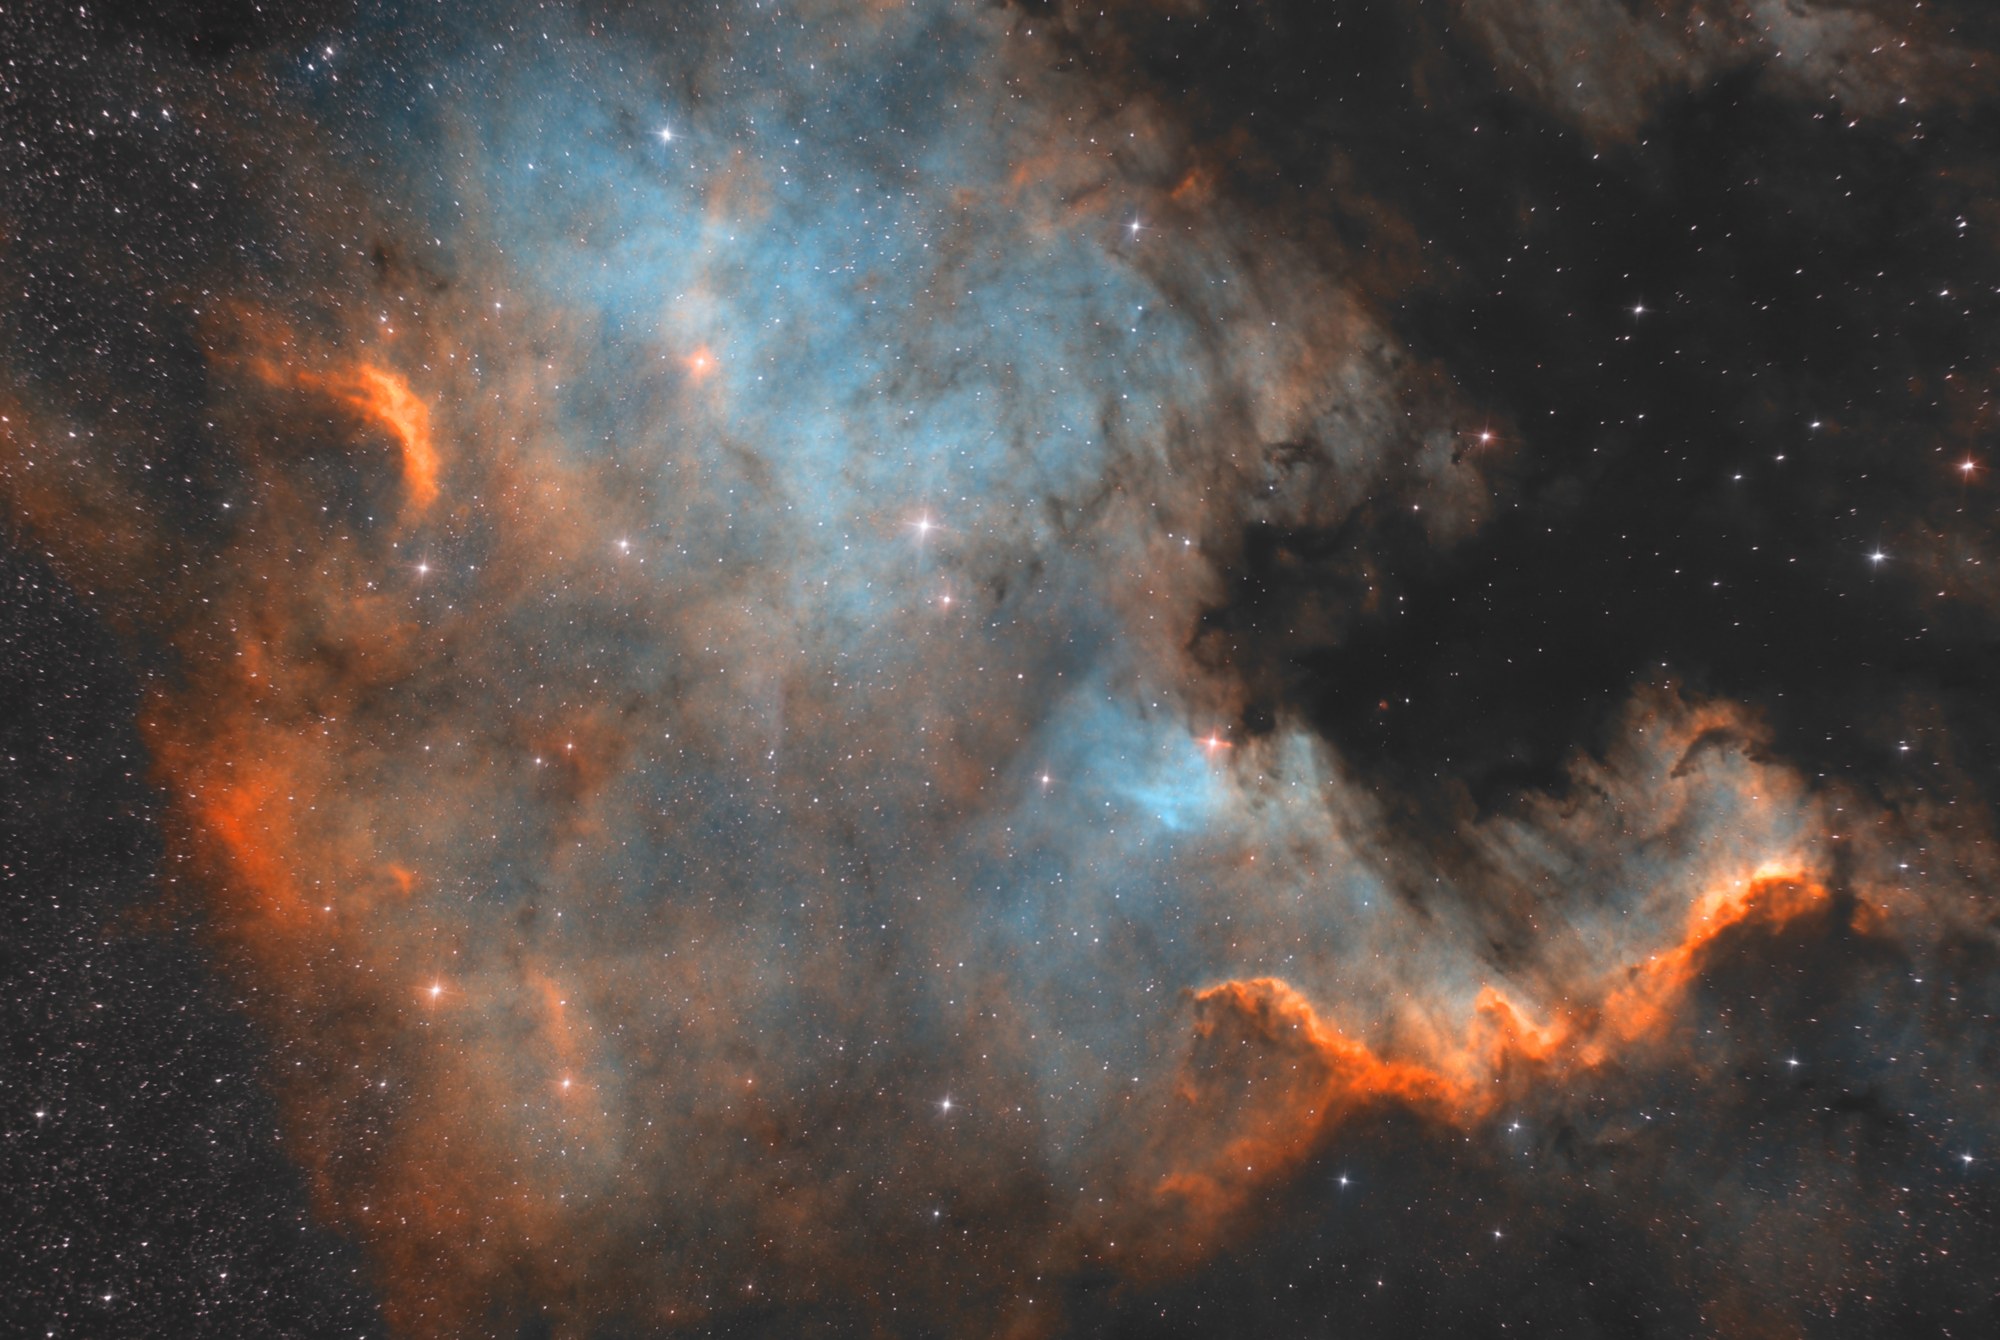
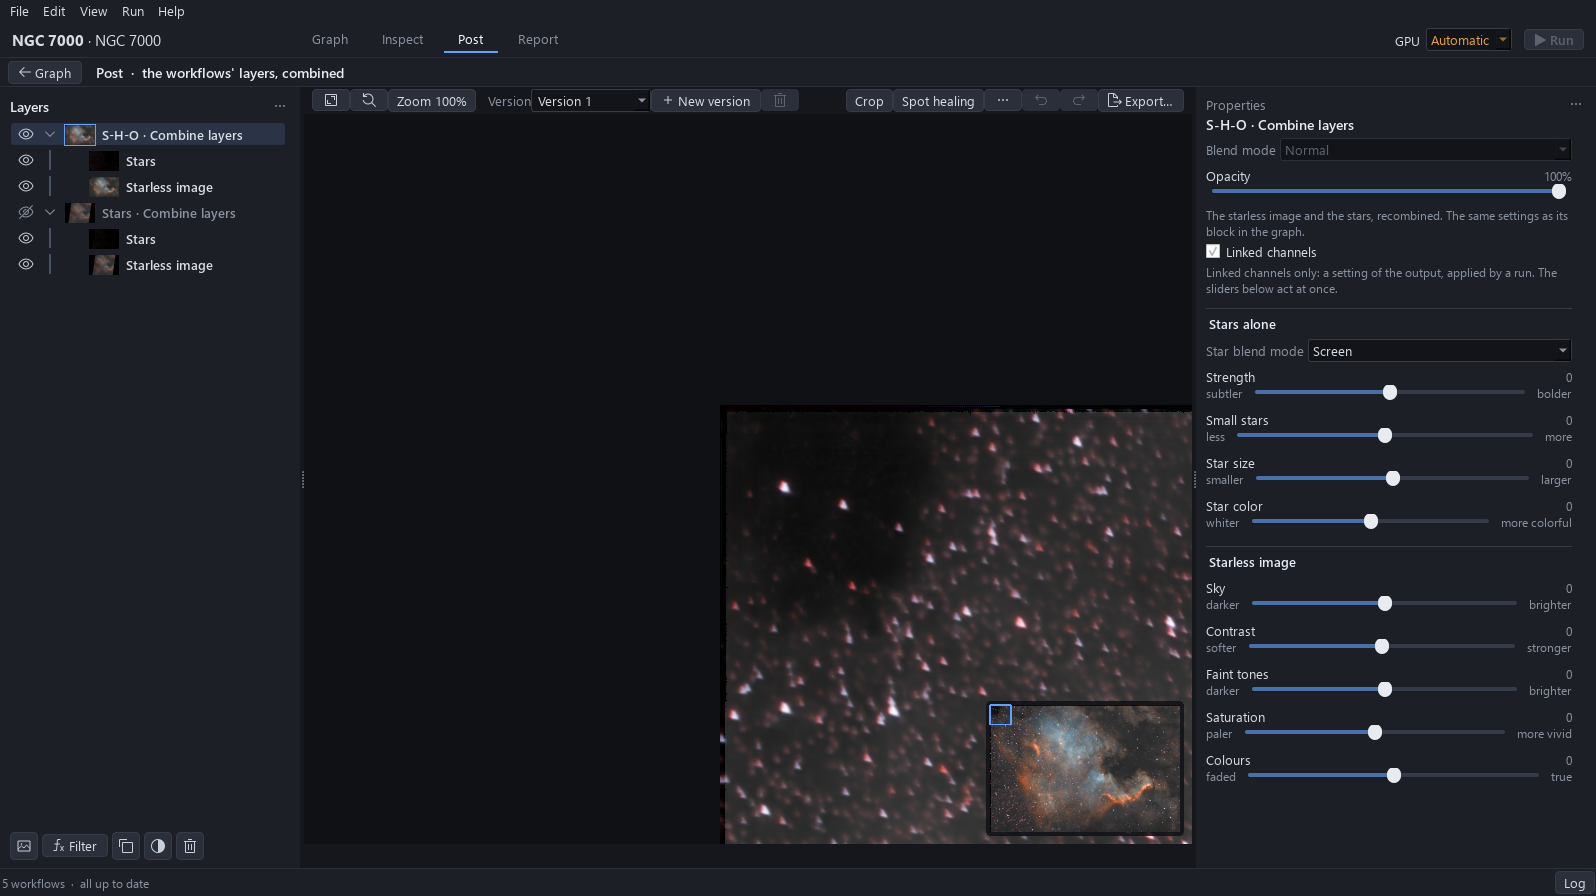
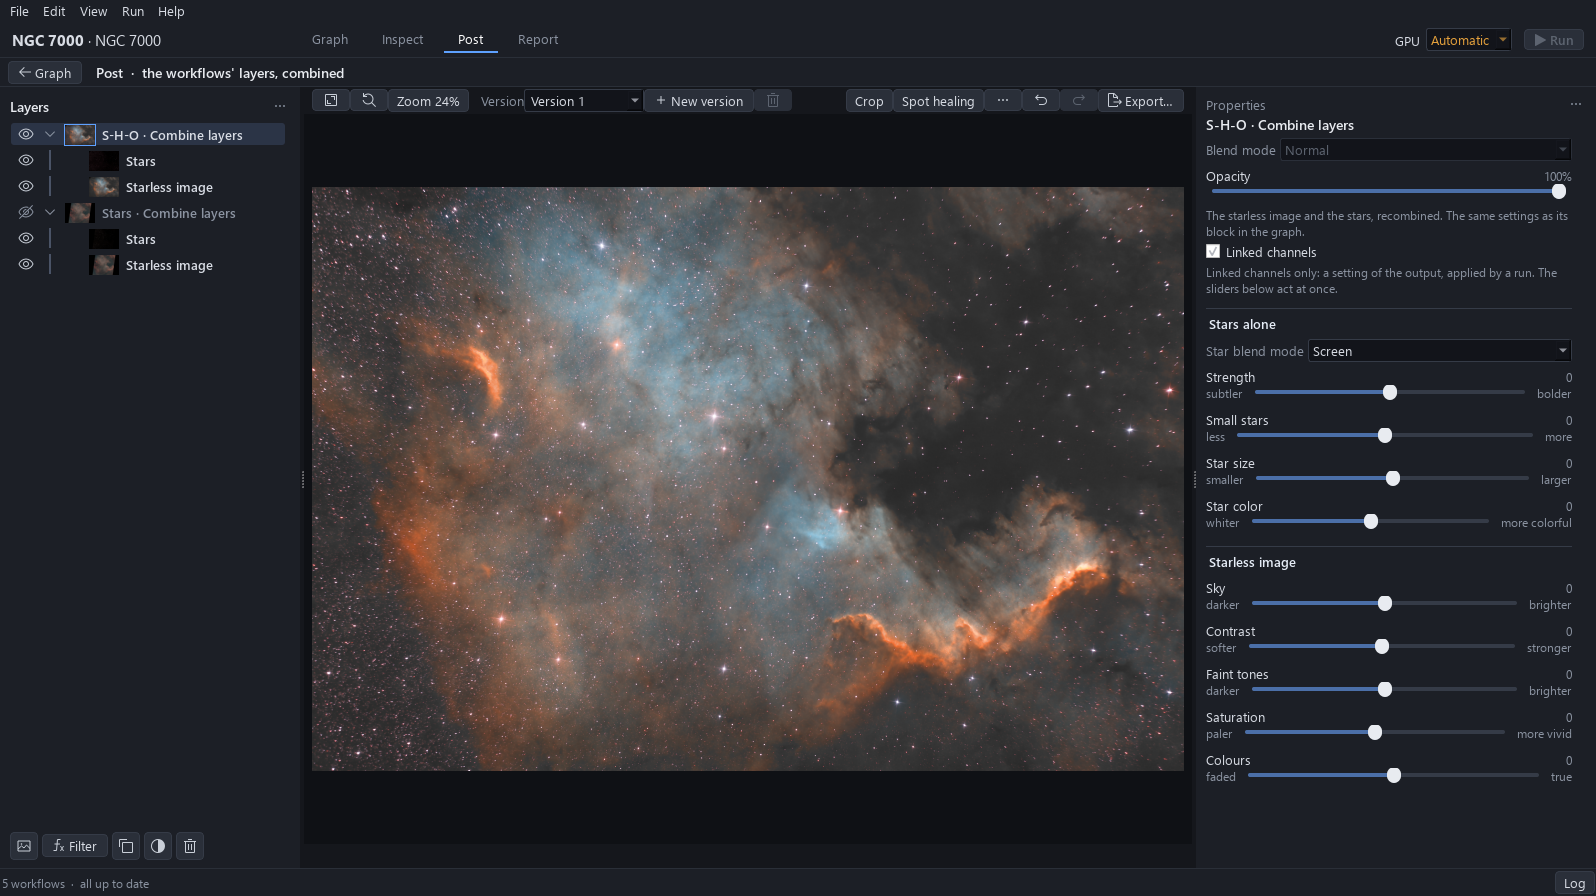
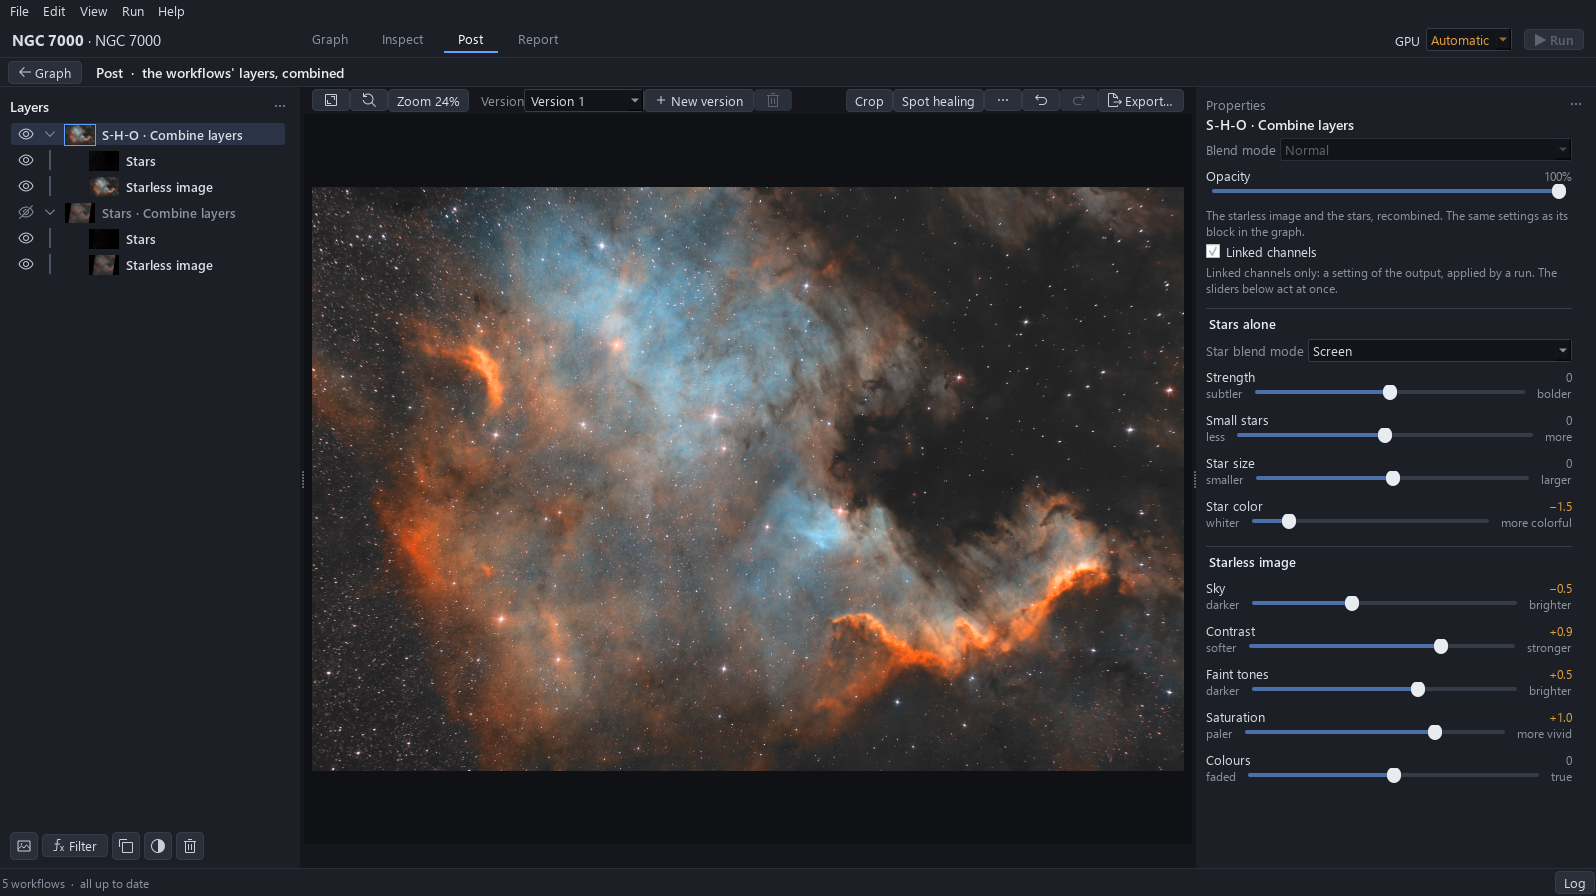
Click Post. It opens on one visible layer, S-H-O · Combine layers, with every slider at zero; the layer of the Stars workflow is added hidden, and nothing is offered to compute. Before any gesture, read what is wrong: zoom the picture to 100 % from the zoom list and look at the corners. Already right, leave it alone: the sky has no colour cast, the noise is handled by the Denoise block, and the palette itself is the one you want.
Why. Correcting without reading first leads to guessing. Each defect below is read where it shows, and each one names the gesture that corrects it.
To avoid. Judge the sky by eye; the figures given here are measured on the exported file (0 to 255).
| What is wrong | How it is read | What corrects it |
|---|---|---|
| Grey sky, veiled picture | The dark lane at the top right is a lifted grey, not a near-black: about 47 on the 0 to 255 scale of the exported file. | Lower Sky (step 3) |
| Flat nebula | Fitted view: the orange wall and the dark lanes lack depth, and the faint outer gas is hardly there. | Raise Contrast and Faint tones (step 4) |
| Shy colours | The brightest 5 % of the picture is almost grey (about 151/150/150). | Raise Saturation (step 5) |
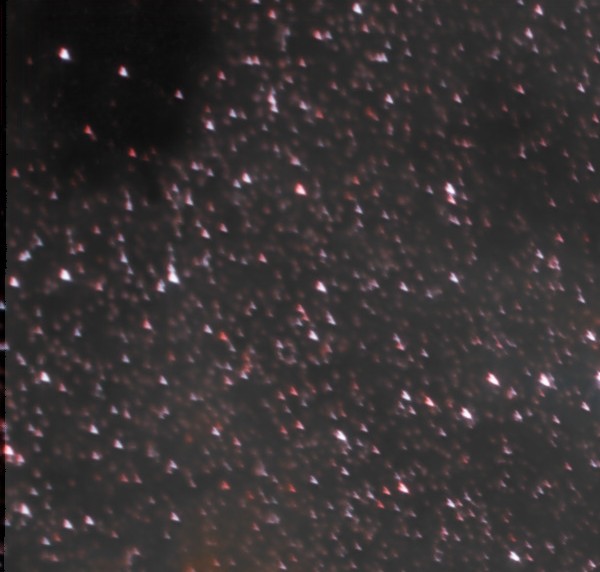
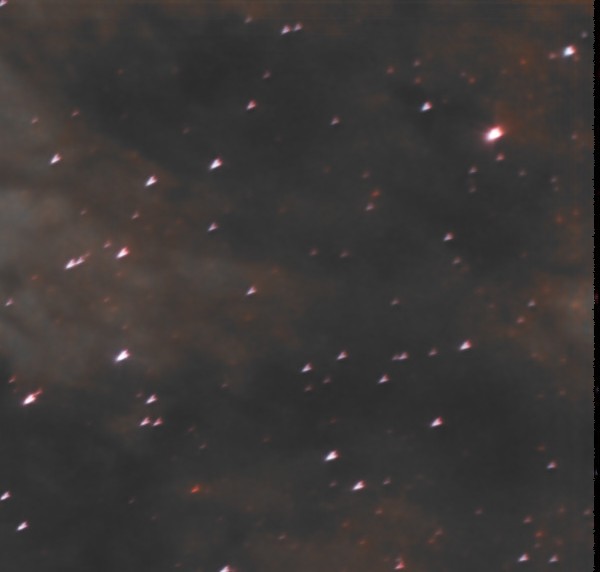
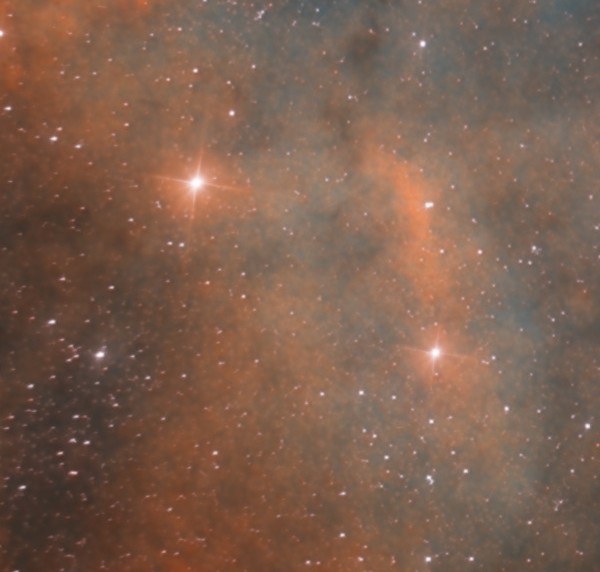
| Comet-shaped stars in the corners, black borders | At 100 %, the top corners: the stars have tails, and the four edges carry 3 to 10 px of black left by the alignment. | Crop (step 2) |
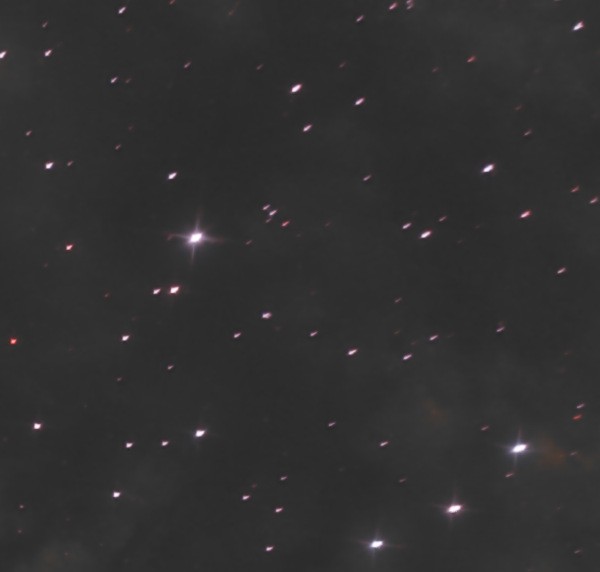
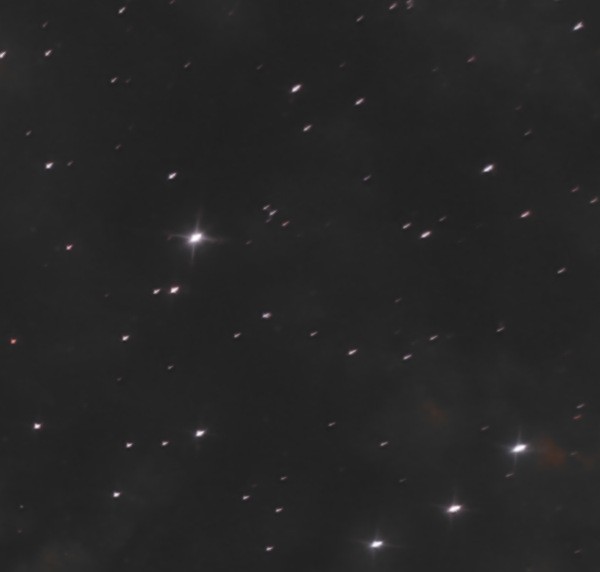
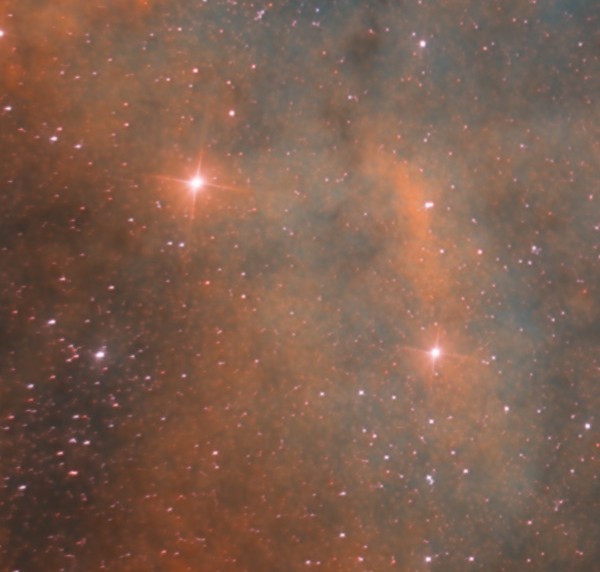
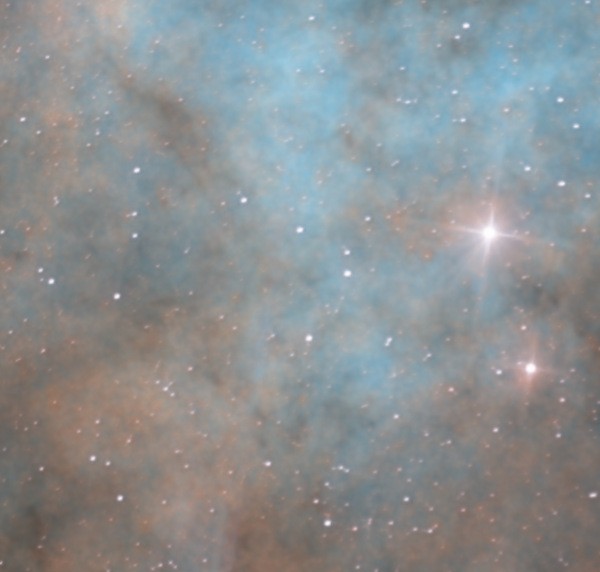
| Pink, crowded stars | At 100 % on a star field: the stars are pink, and the small ones crowd the gas. | Star color, then Star size and Small stars (step 6) |
2Crop the corners and the borders
Click Crop. Drag the top-left corner of the box in, then the bottom-right one, until the comet stars of the corners and the black borders are outside it and the North America and its wall are centred: about 300 px off each side and 200 px off the top and bottom, a box of 3655 × 2450 px. Click Apply.
Why. It removes the comet-shaped stars of the corners, which no other gesture would cure, and the black borders; it also frames the subject. Nothing is lost: the rendering of the whole image does not change.
3Bring the sky down
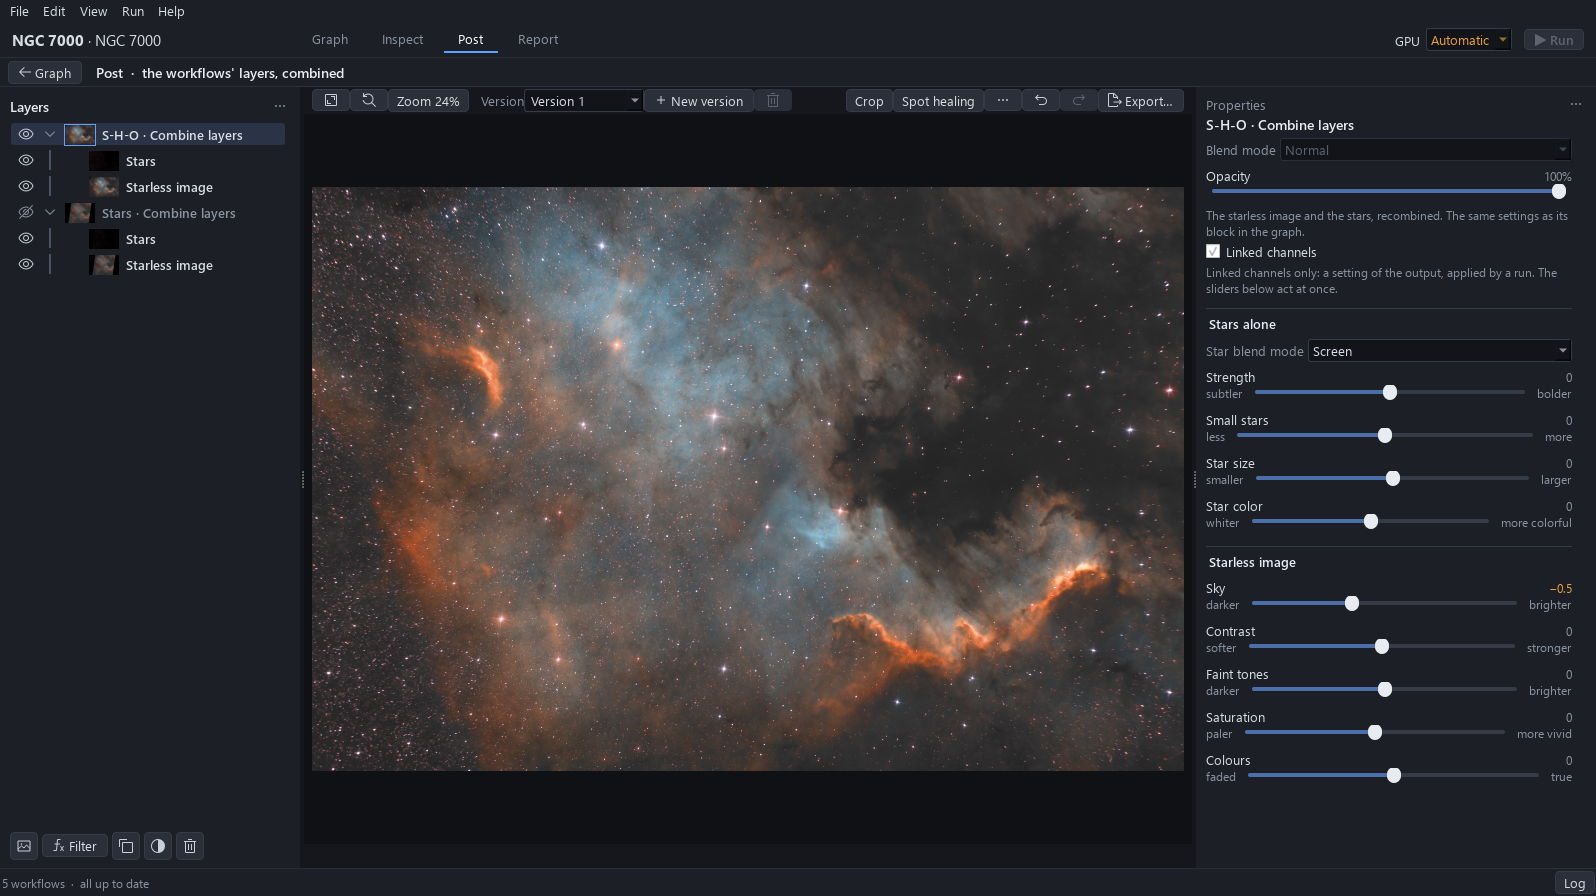
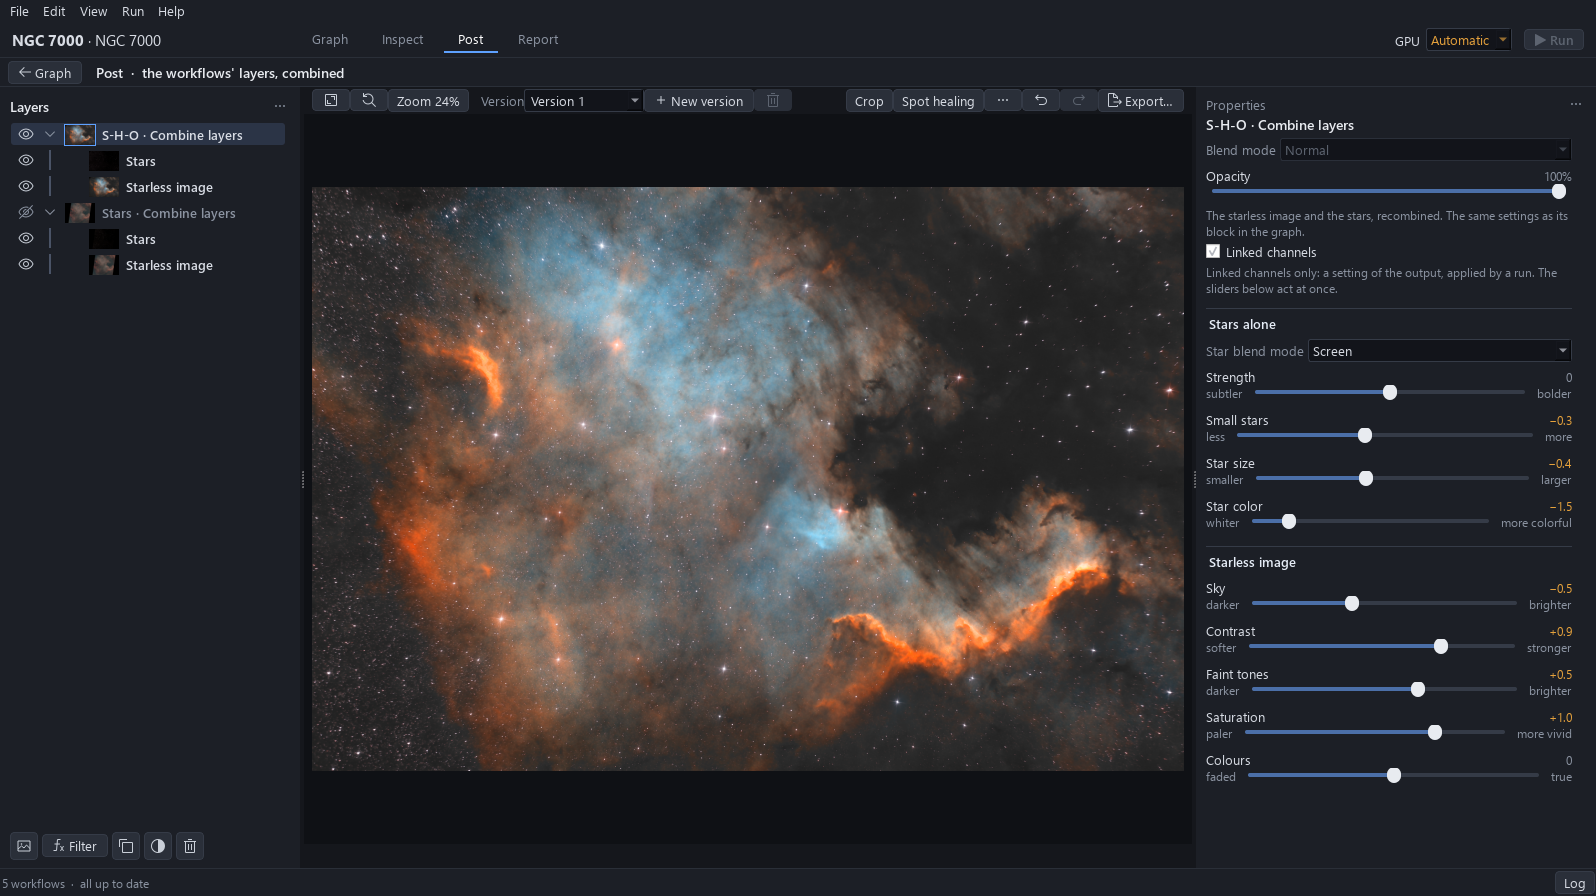
Drag Sky to the left until the veil is gone and the sky is a dark grey: here about −0.5. The dark lane at the top right goes from about 47 to about 36 on the 0 to 255 scale of the exported file.
Why. It corrects the veil of the first defect: the picture gets its black back, and everything that follows is judged against a dark sky.
4Give the nebula relief
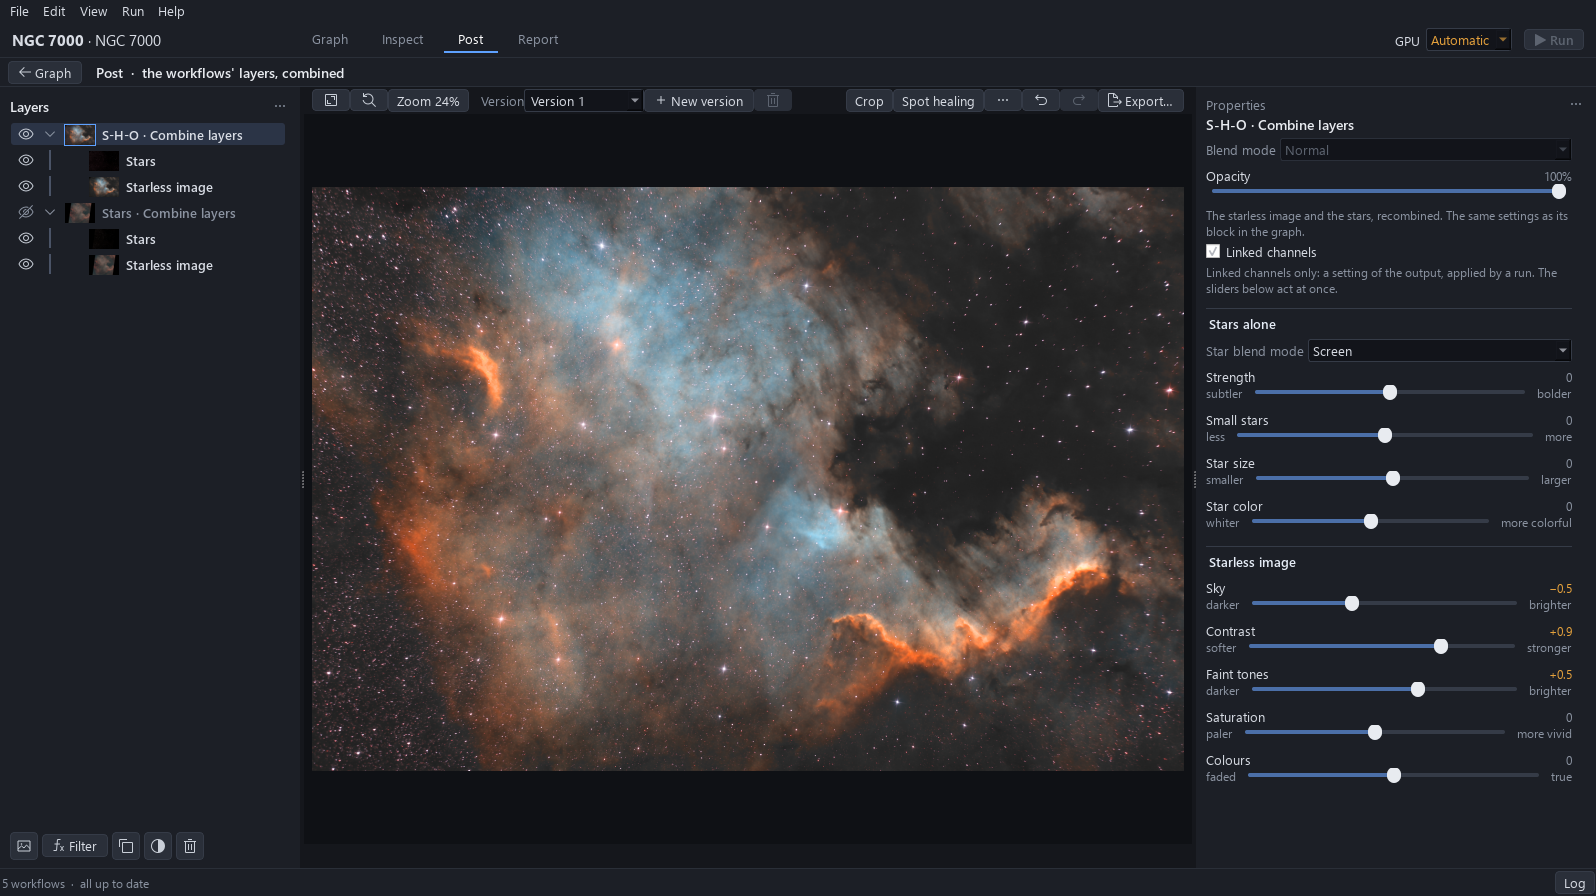
Drag Contrast to the right until the wall and the dark lanes stand out: here about +0.9. Then drag Faint tones to the right until the outer filaments come up: about +0.5. Sky, Contrast and Faint tones are done one after the other on the same panel.
Why. It corrects the flat nebula: Contrast separates the bright wall from the dark lanes, and Faint tones lifts the gas that was close to the sky.
5Bring the palette to life
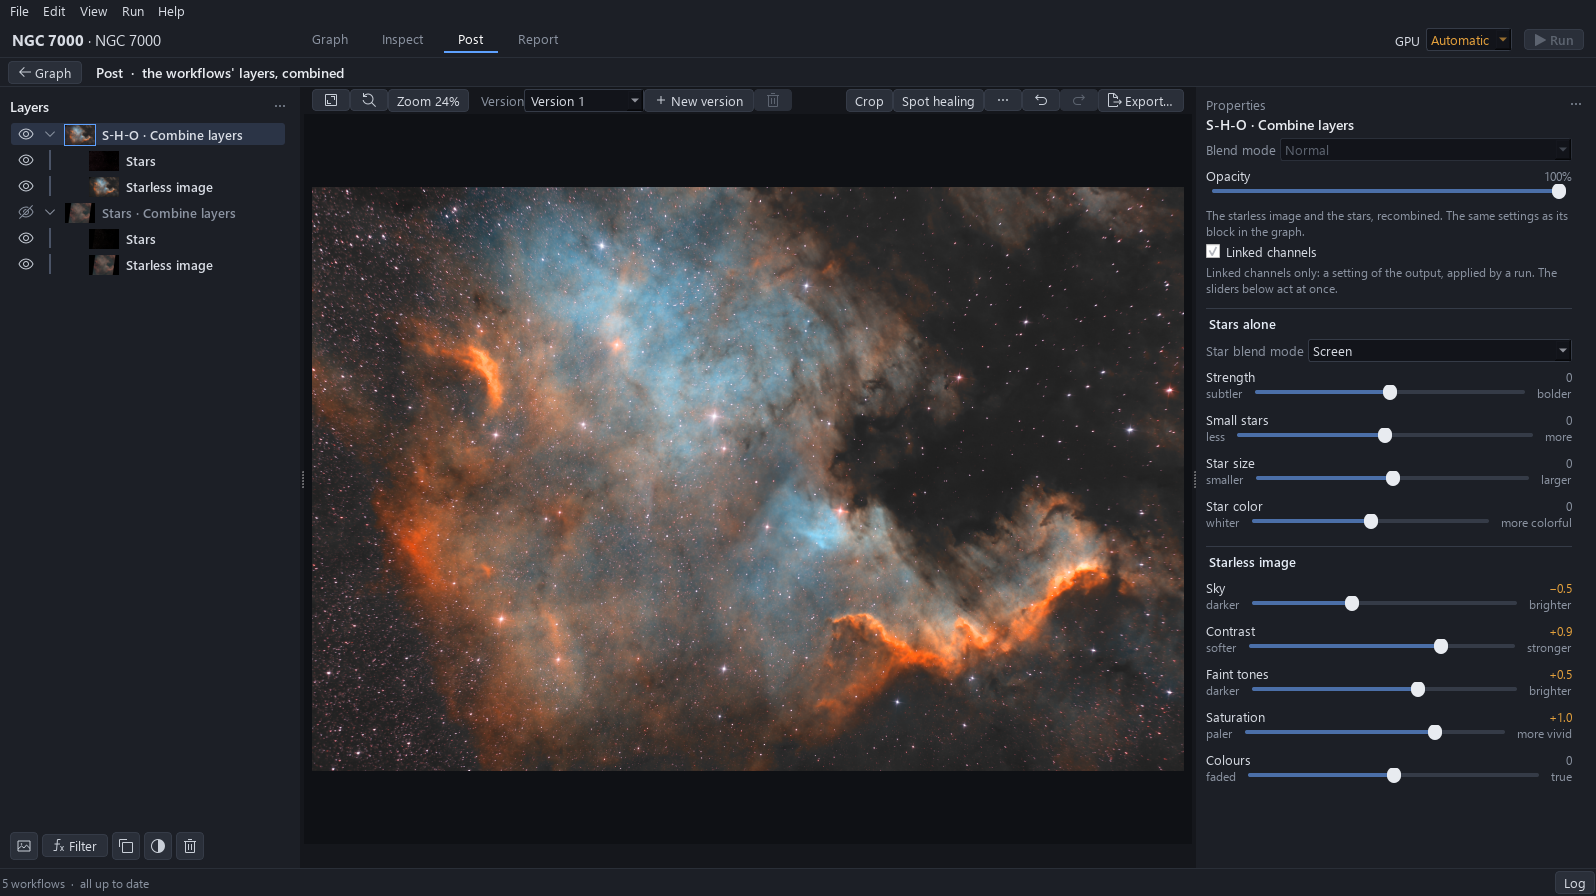
Drag Saturation to the right until the palette has its colours, gold and orange for H-alpha and S II, blue for O III: here about +1.0. The brightest 5 % of the picture goes from almost grey to about 160/164/164.
Why. It corrects the shy colours: the palette was there from the start, but too weak to read.
6Whiten the stars
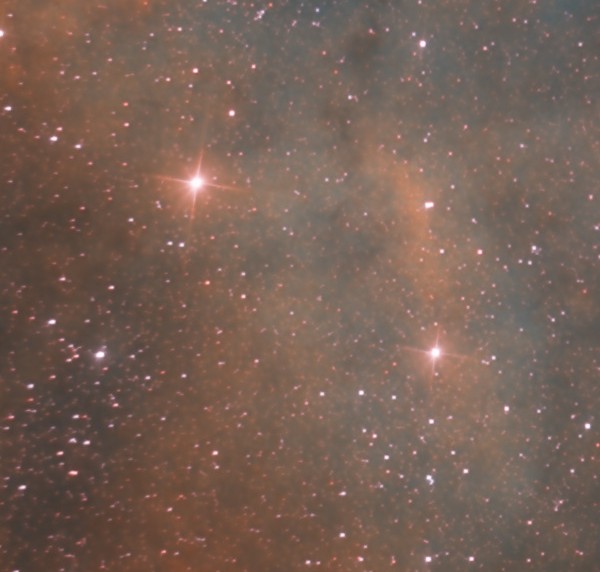
Drag Star color toward white until the stars lose their false pink: here about −1.5. Check at 100 % on a star field.
Why. These stars come from the O III workflow, so their colour is not theirs: they are seen through one line. White stars are the usual choice on an S-H-O.
7Make the stars smaller and fewer
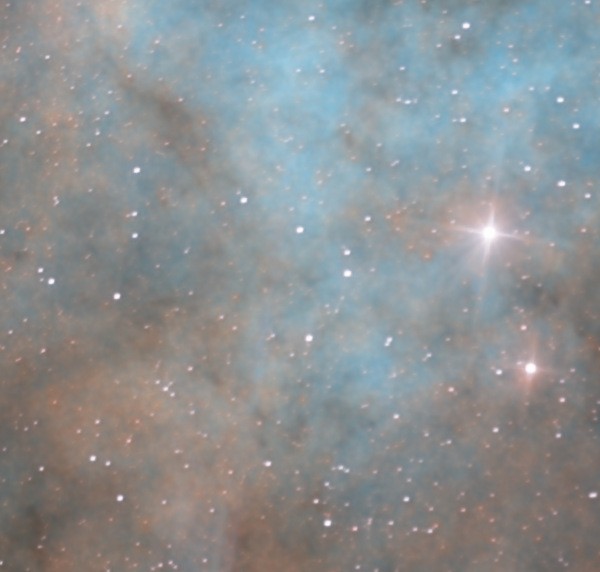
Drag Star size toward smaller until the stars stop crowding the gas: here about −0.4. Then drag Small stars toward less: about −0.3. Fewer and smaller small stars remain over the nebula.
Why. It corrects the crowded stars: a field this rich in stars hides the gas behind them if the small ones are left as they come.
8Name the version
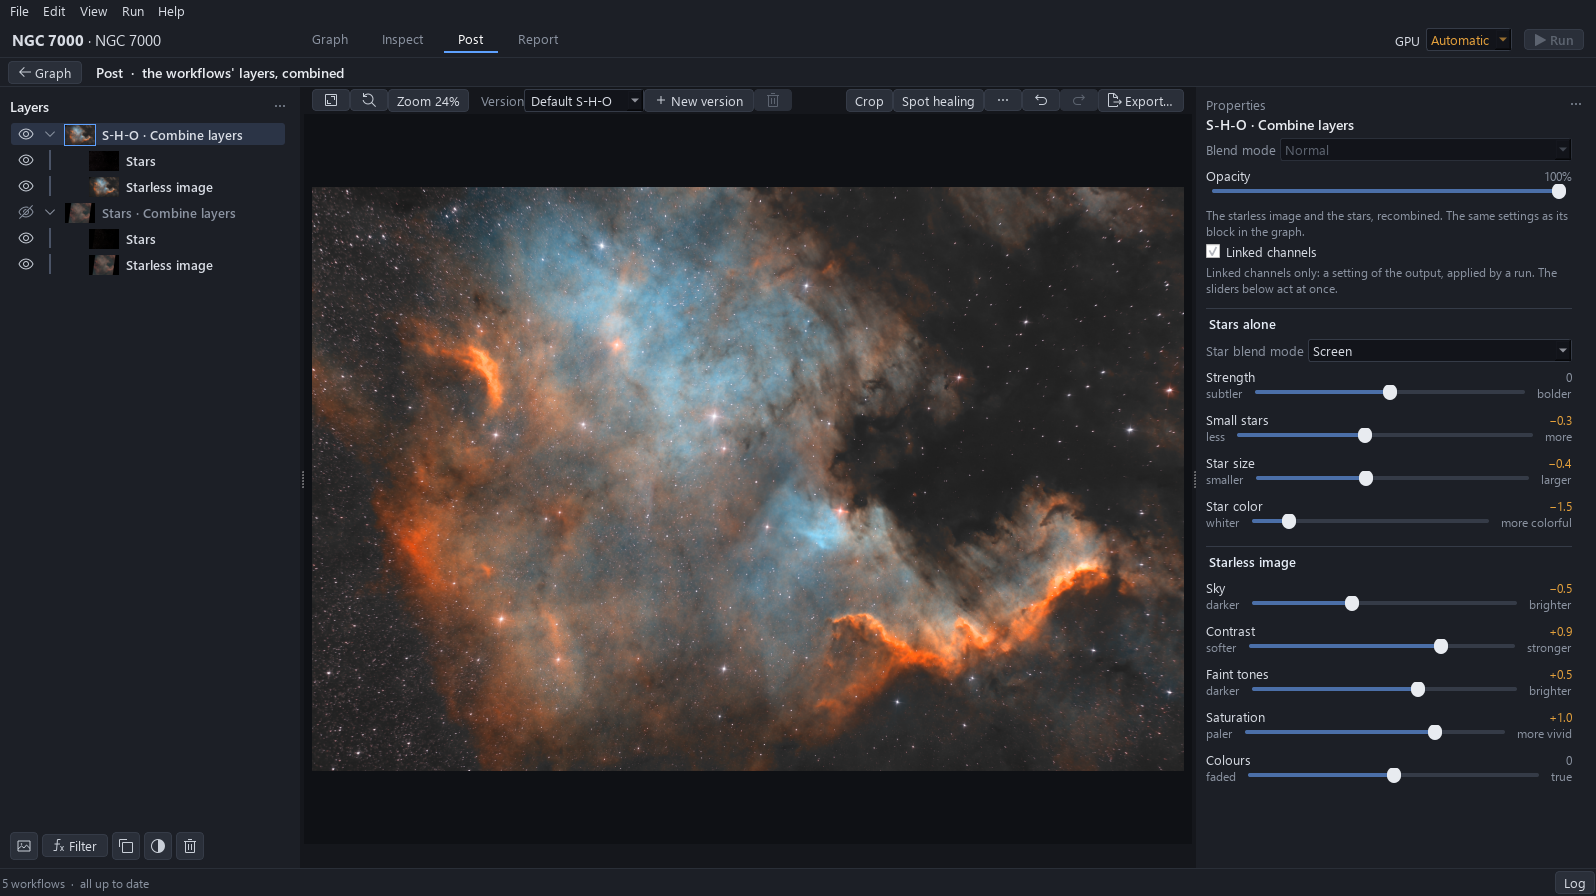
Click the version name above the picture, select it, type Default S-H-O and press Enter.
Why. The next tutorial duplicates this version to push the palette further without losing this one: it has to be findable by its name.
9Export the picture
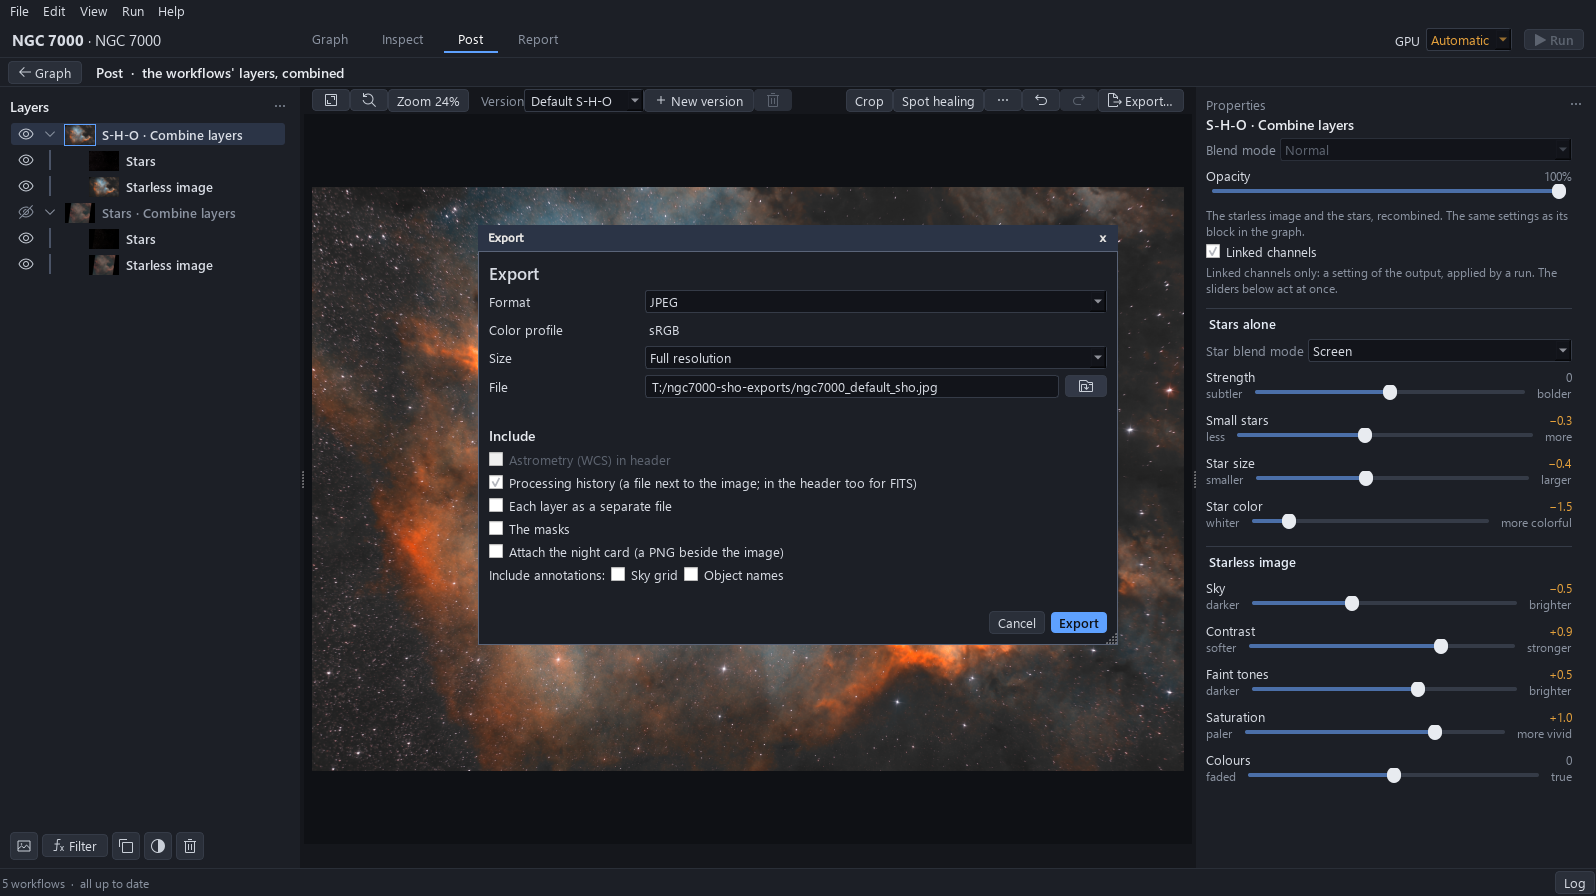
Click Export…, choose the JPEG format, check the file path (on the tutorial drive) and click Export. The sky of the exported file reads about 36 on the 0 to 255 scale.
Why. The export is the finished picture of this version, the one to compare with the next tutorial’s.
10Save the project
Press Ctrl+S: the status bar reads Project saved. The version Default S-H-O is kept in the project.
Why. Edits that are not saved are lost when the project is closed.