The path · 3 Advanced
Repair instead of cropping
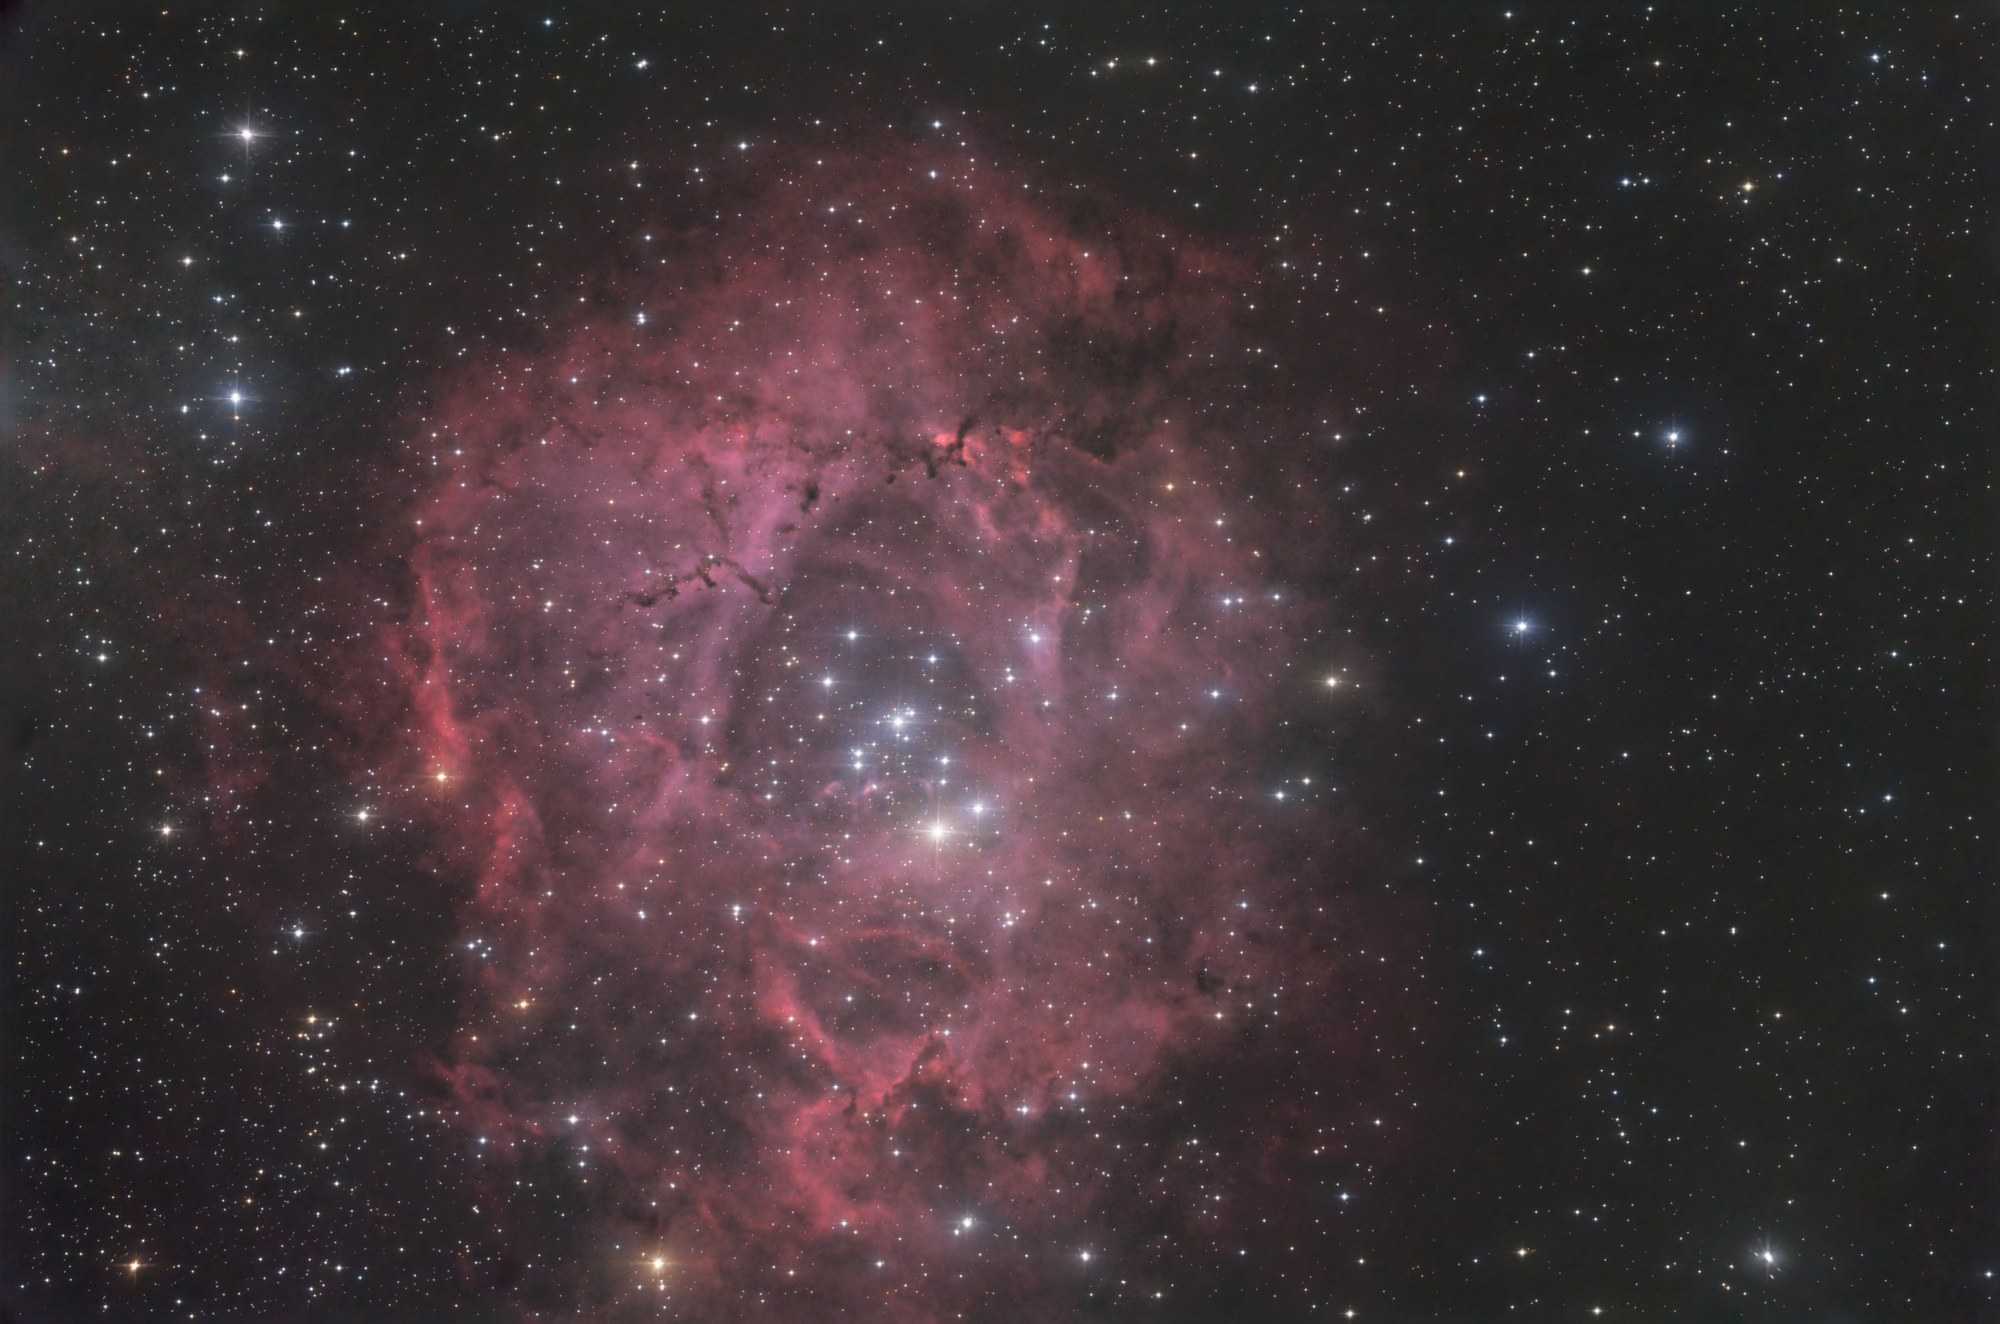
The project of the second tutorial is opened again and its crop loosened to the whole field, a third more area. A dust stain is healed with Spot healing, and the comet-shaped stars of the edges are redrawn by the Synthetic stars block, the real stars being painted back at the centre.
| Duration | About 10 min, of which 10 s of computing |
|---|---|
| Requirements |
|
| Data set | Rosette Nebula (NGC 2237) · Sony A7S, 15 s at ISO 4000 · 130/900 Newtonian · 436 lights (1.8 h), 48 darks, 62 flats, the authors of FLOAT; size 6.9 GB. The frames will be offered for download; the link will be given here |
1Open the project
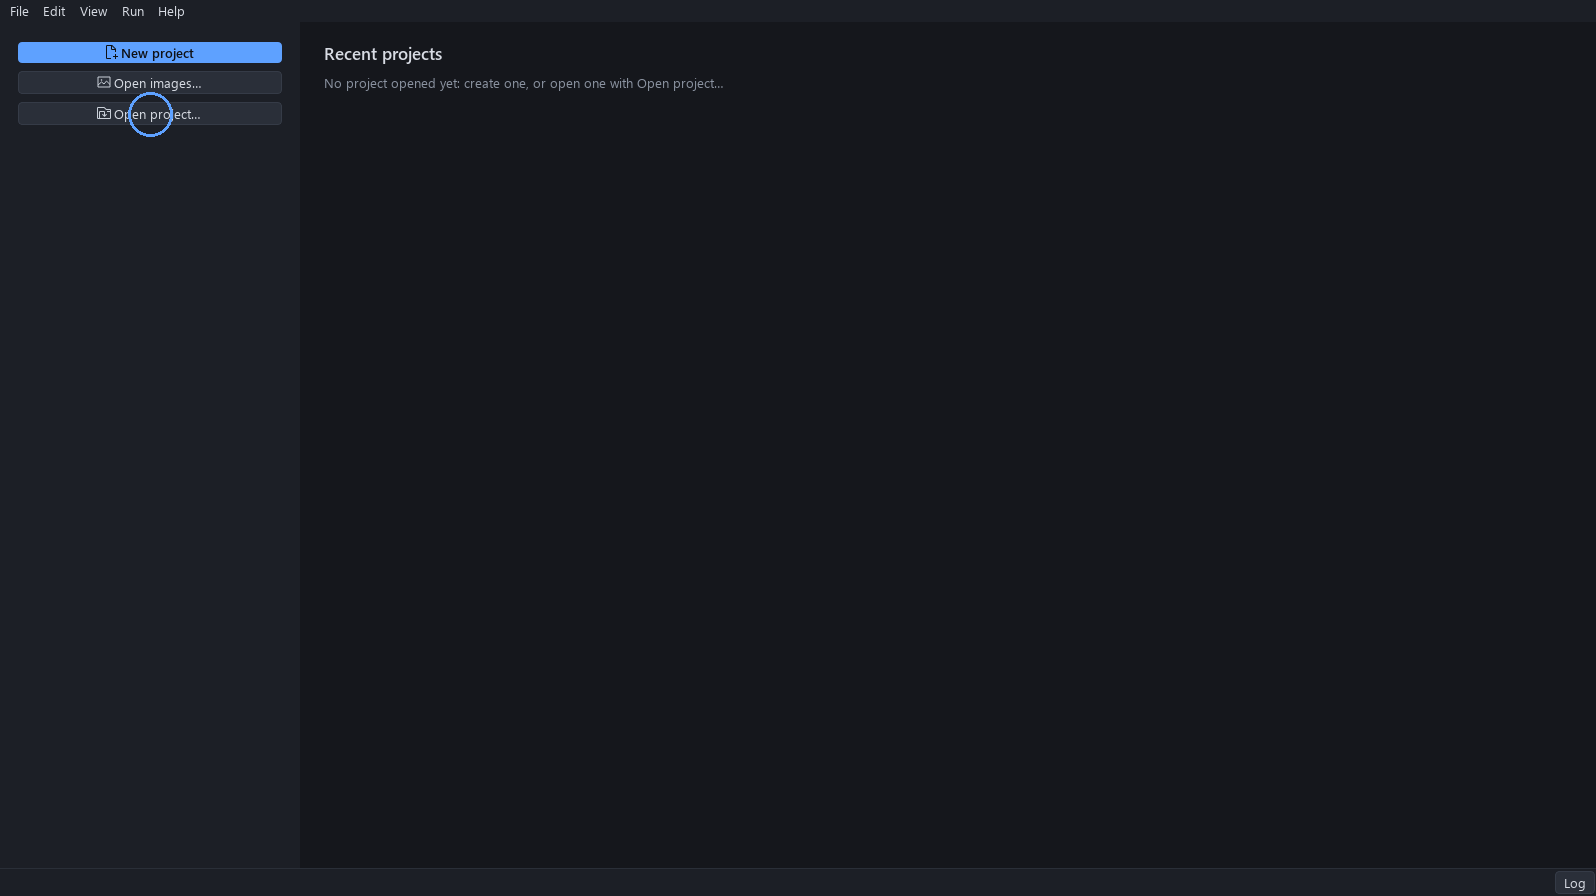
On the Home screen click Open project… and choose the finished project of the second tutorial, or a copy of its folder. The project opens up to date: nothing is to be computed.
Expected result. The status bar reads all up to date, and the Run button is greyed.
2Diagnosis in Post
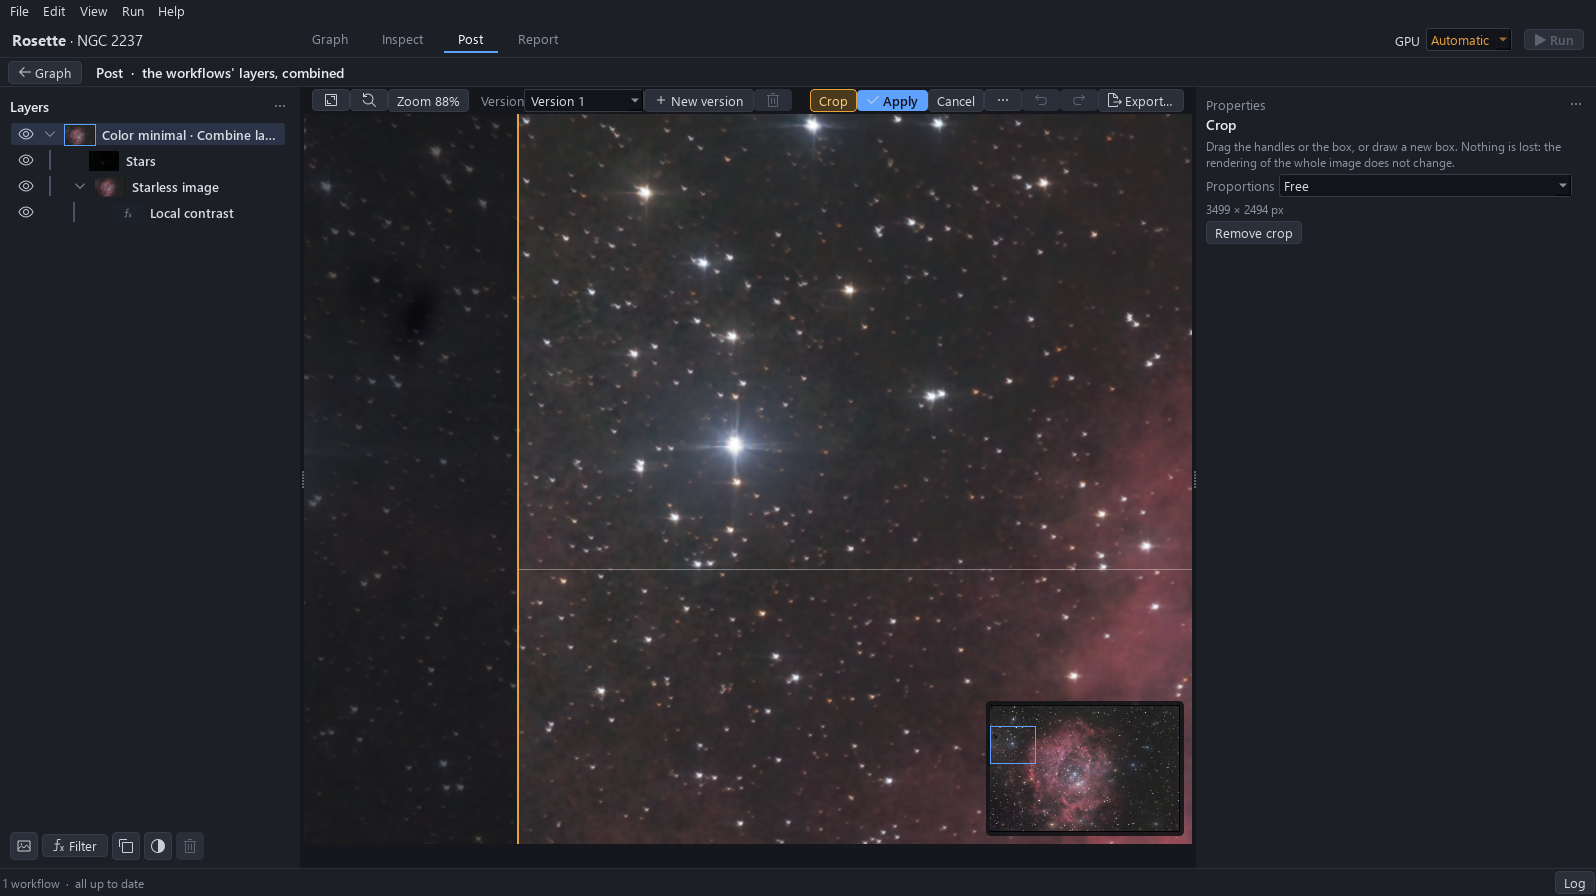
Click Post. The picture is the result of the second tutorial: clean and quiet, but tightly cropped, because the first tutorial cut two defects away instead of repairing them. Before any gesture, click Crop: the whole field appears around the frame and the two defects come back. Leave with Cancel. Right, and to leave alone: the sky level and neutrality, the denoised gas and the star settings of the second tutorial.
Expected result. The sky is dark and neutral: on the exported picture it reads 34, 34 and 33 in red, green and blue on a 0 to 255 scale, neutral within one level. The sky is read before it is corrected, and here no gesture is needed.
| What is wrong | How it is read | What corrects it |
|---|---|---|
| The field is tight. | The picture is about 3,500 px wide. With Crop open, the frame shows what the first tutorial gave up around it: a band of sky and stars on every side. | Loosen the crop to the whole field. (step 6) |
| A dark stain at the left edge. | With Crop open, zoom to 100 % (Ctrl and the mouse wheel over the picture) at the left edge, outside the frame: a dark patch, with a smaller one beside it. | Spot healing on the starless image. (step 7) |
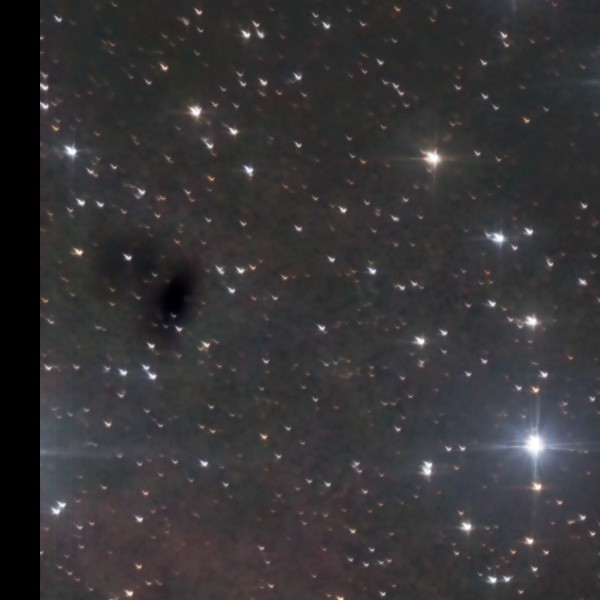
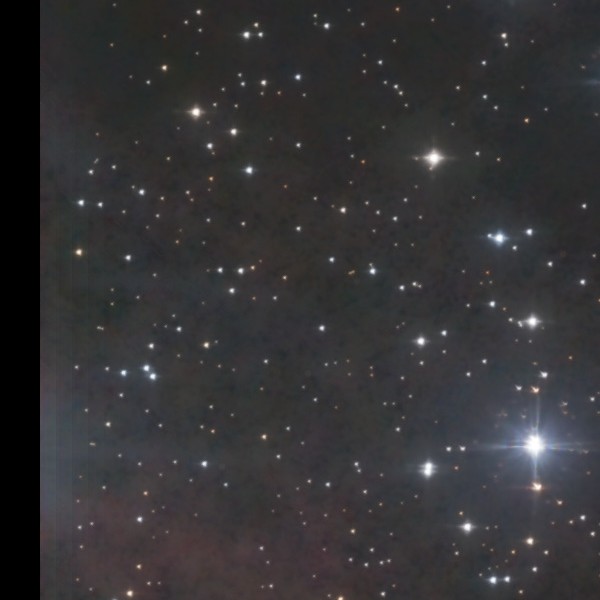
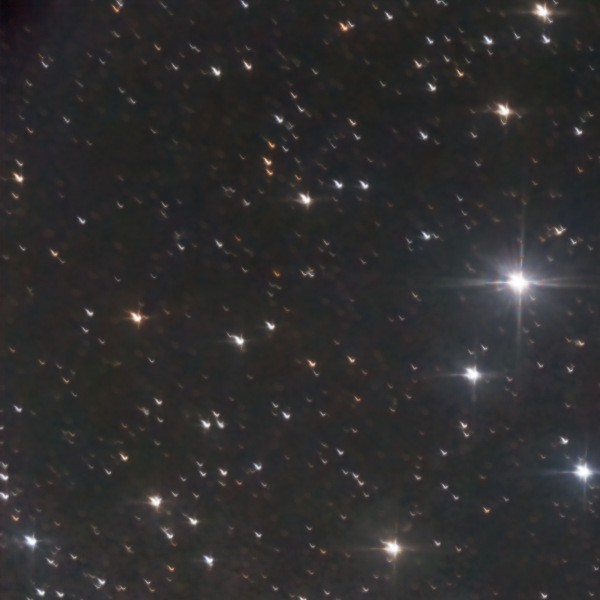
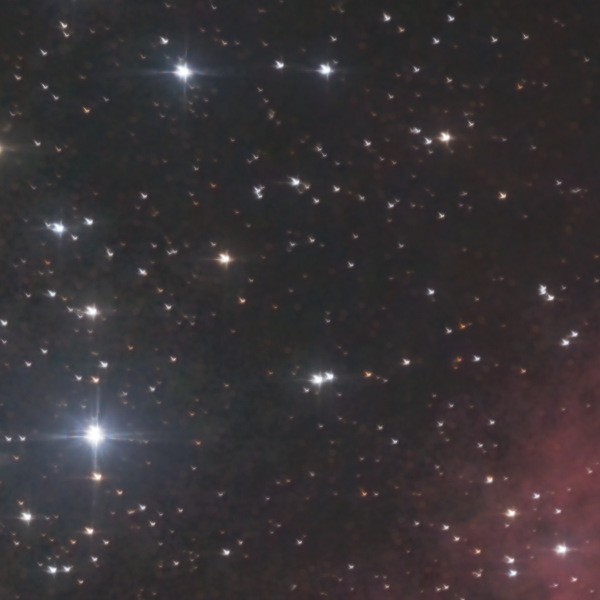
| Comet-shaped stars along the edges and in the corners. | Zoom to 100 % in a corner: the stars are stretched like comets, while those at the centre of the field are round. It is the coma of the telescope. | Add the Synthetic stars block, then paint the real stars back at the centre. (step 3) |
3Add the Synthetic stars block
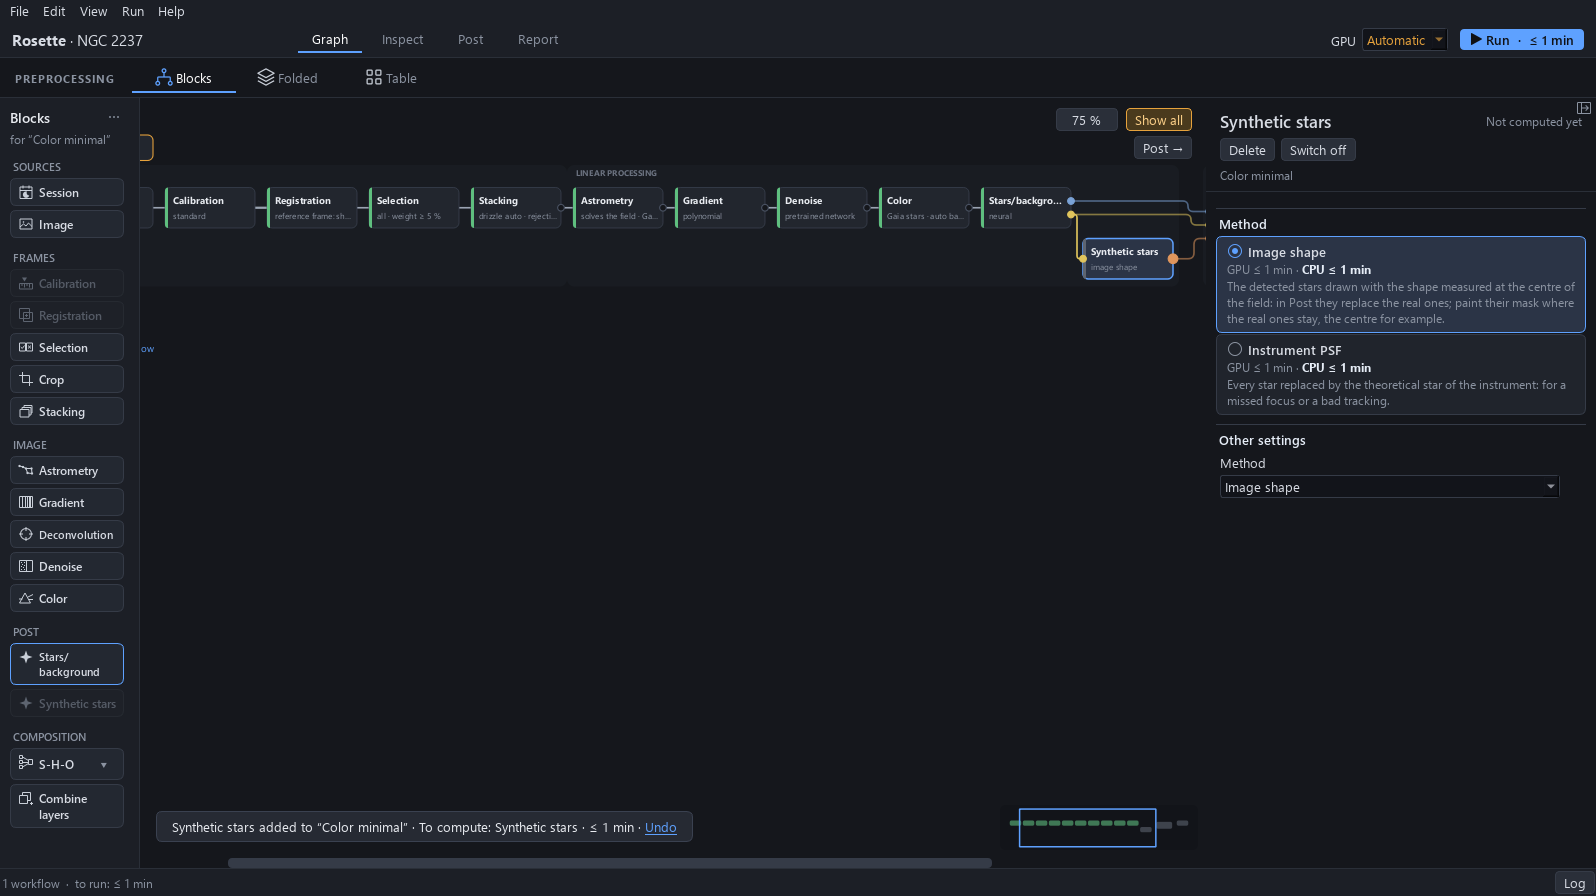
Click Graph. In the palette, double-click Synthetic stars: the block takes its place after Stars/background, with the method Image shape, the default.
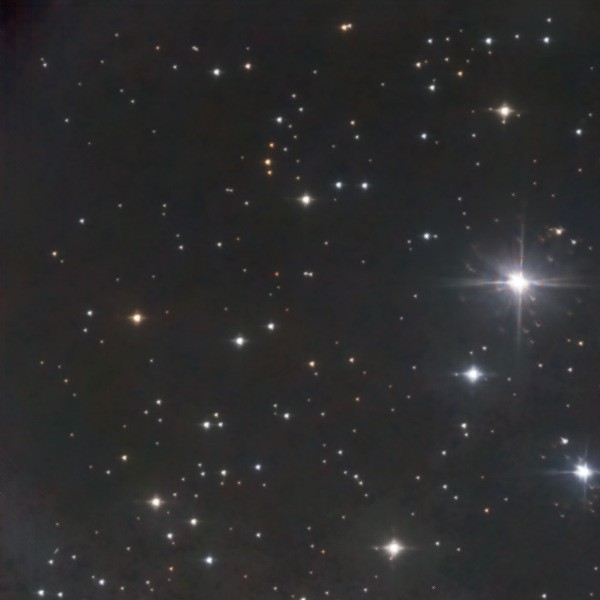
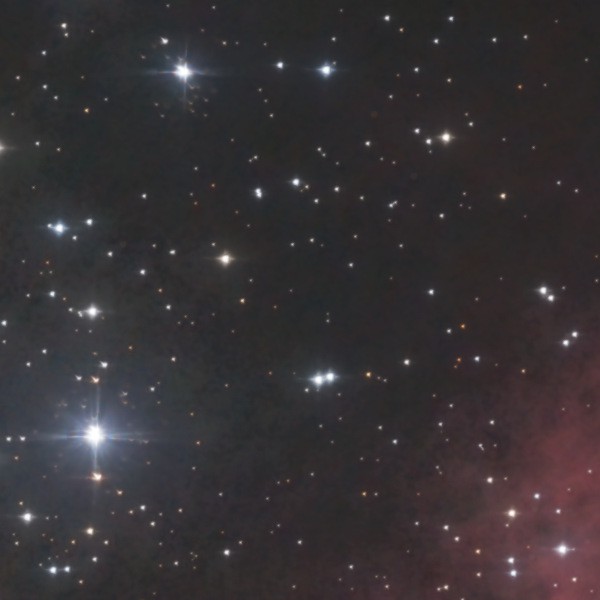
Why. The stars of the edges and corners are comet-shaped: that is the coma of this telescope, which has no corrector. Image shape measures the shape of the stars at the centre of the field, where it is round, and redraws every detected star with it. The brightest stars are left real.
Expected result. The status bar reads to run: ≤ 1 min.
4Run the block
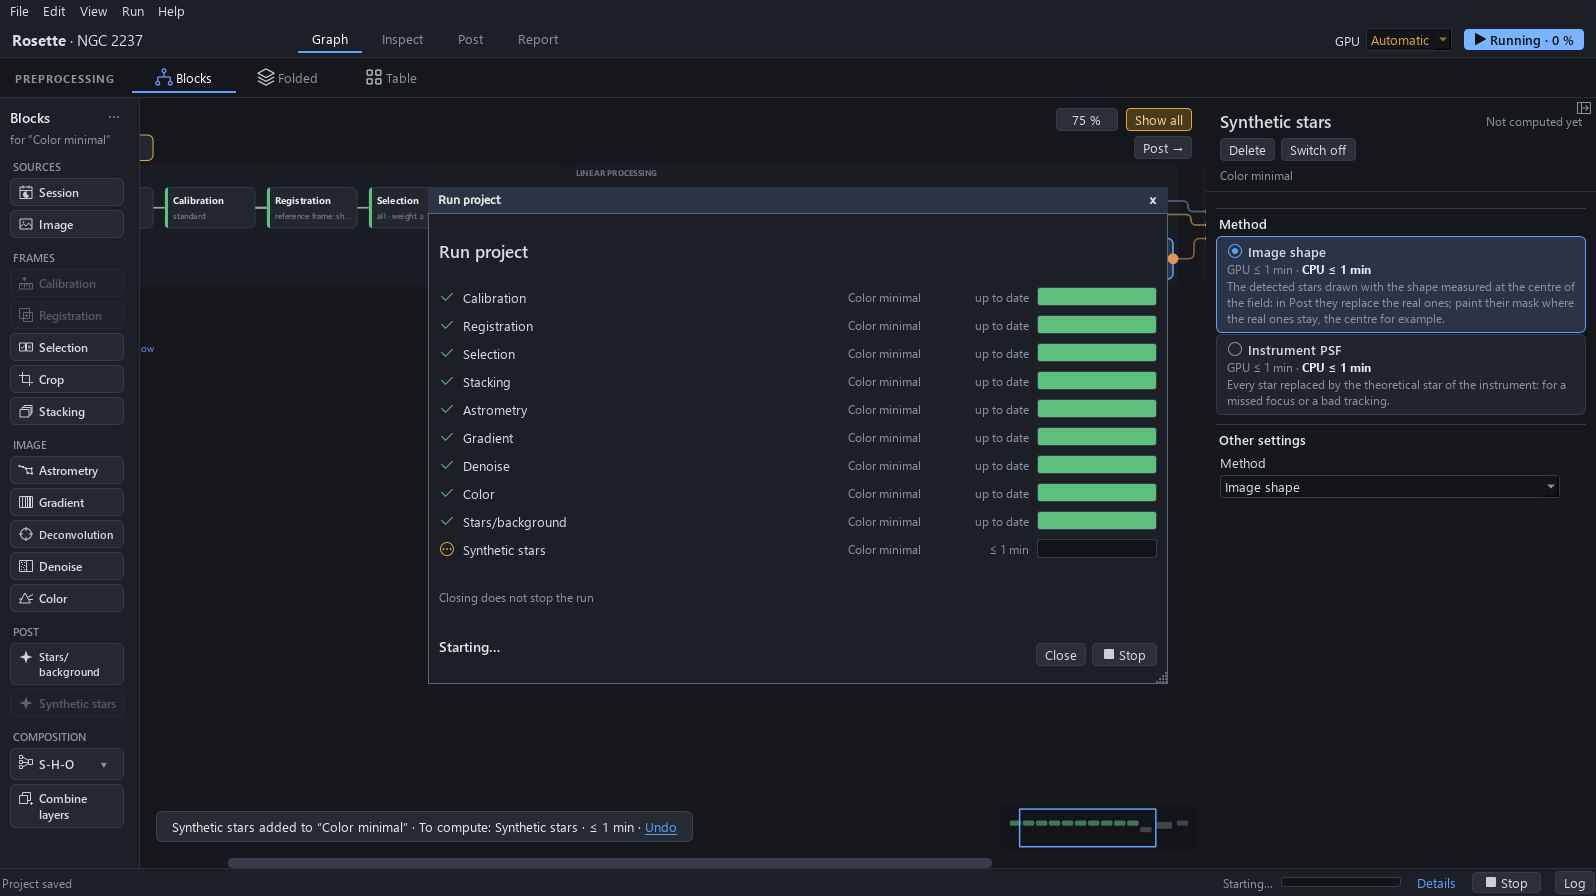
Click Run. The Run project window lists every block: all are up to date except Synthetic stars, which alone is computed. It takes about 10 s.
Why. Each block is computed once, and a change only runs again the blocks that follow it: nothing else is recomputed.
Expected result. The window ends with 1 block computed, and the status bar reads all up to date.
5The new rows in Post
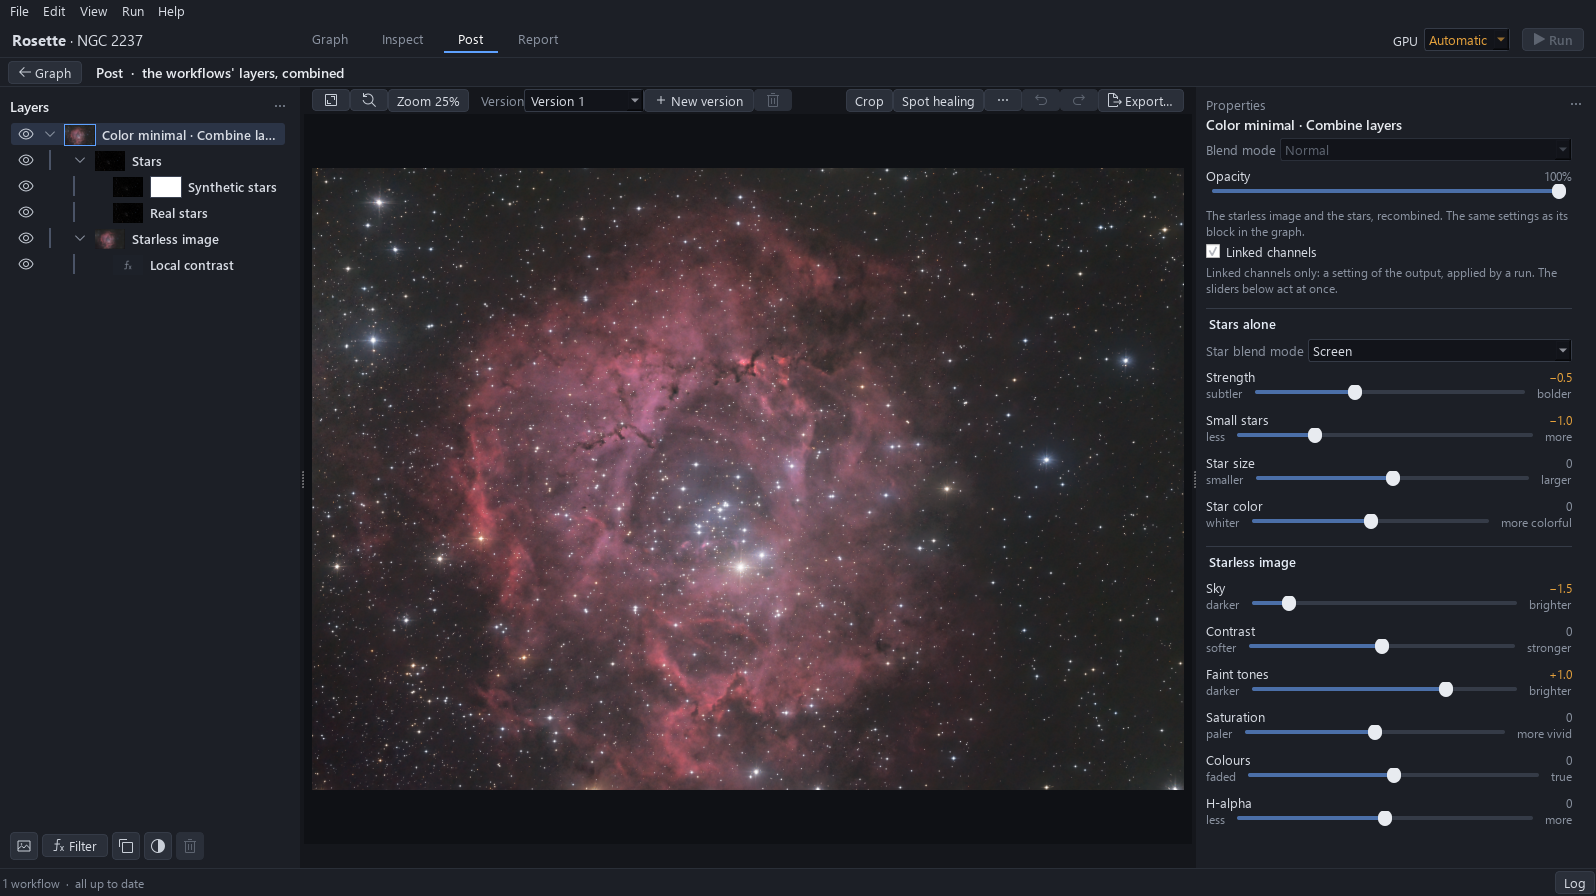
Close the window and click Post. The Stars group of the layer now holds two rows, Synthetic stars and Real stars. The mask of the Synthetic stars row is white: it starts open, so the synthetic stars replace all the real ones.
Why. Post builds these rows by itself once the block is computed. The mask is what chooses, point by point, between the synthetic stars and the real ones.
Expected result. The thumbnail of the mask of the Synthetic stars row is white.
6Loosen the crop
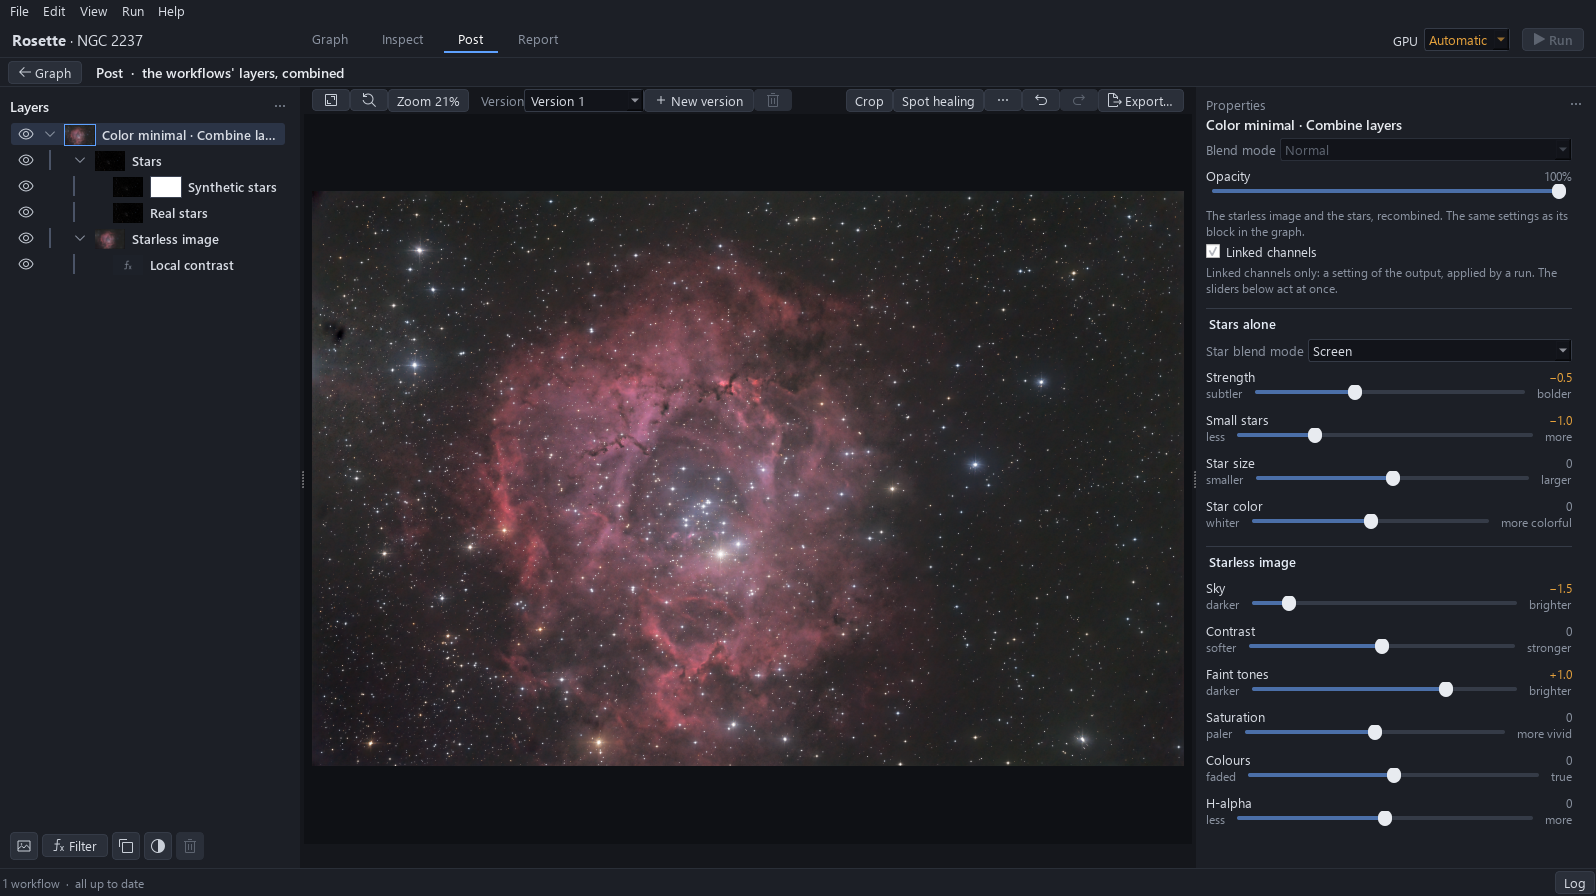
Click Crop. Drag the top left corner of the frame to the corner of the field, then the bottom right corner to the edge, keeping only the black borders of the alignment out: a few pixels on the right, at the top and at the bottom. Click Apply.
Why. The first tutorial cropped because a beginner should not have to repair. At this level the defects are repaired instead, so the field they were hiding is taken back: the ring breathes in a wider field, and the stars around it give the scale.
Expected result. The panel reads about 4,200 × 2,780 px, a third more area (33 %) than the tight crop. The stain and the comet-shaped stars are back.
7Heal the stain
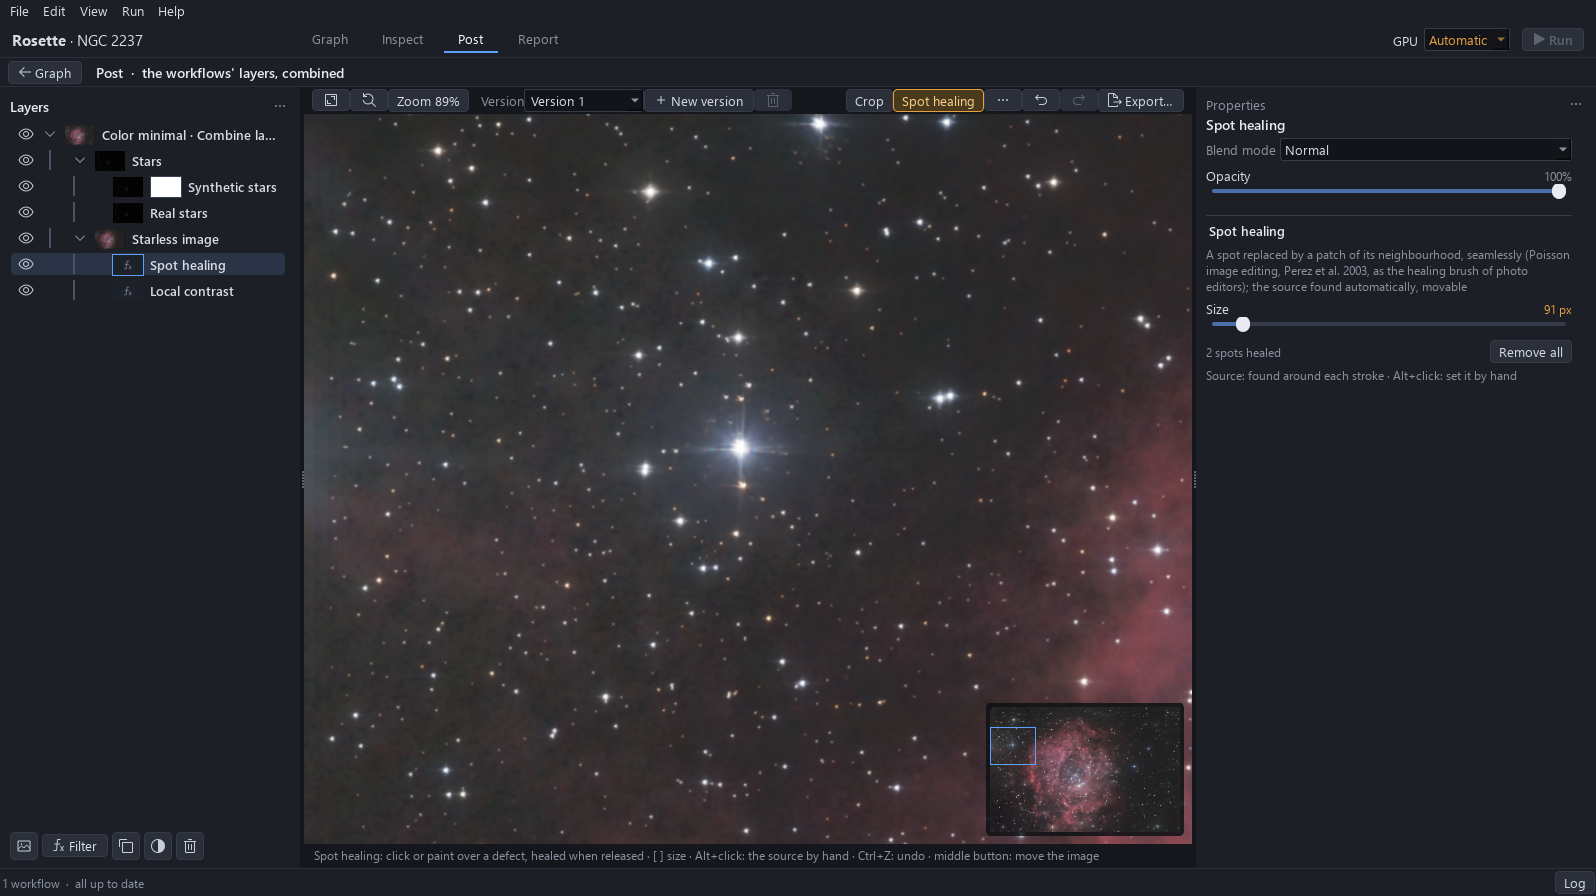
Click the Starless image row, then Spot healing. Zoom in on the stain at the left edge, drag Size until the circle covers the whole stain with a margin (here about 140 px) and click on it. Reduce Size to about 90 px for the small stain beside it and click on it too. The source is found automatically, in clean sky nearby.
Why. The stain is the shadow of a dust grain on the sensor: the flats used come from another night, so they do not correct it. On a stack of two nights, the second turned by 178°, the stain is 24 % shallower: a shadow on the sensor is diluted that way, and a dark cloud in the sky would not be. The tool goes on the starless image because there are no stars to copy along with the sky, so the patch is invisible; on the combined image the patch would copy stars and double them.
Expected result. The panel reads 2 spots healed, and the sky is even where the stain was, with no lighter or darker patch where the sky was taken.
8Paint the real stars back at the centre
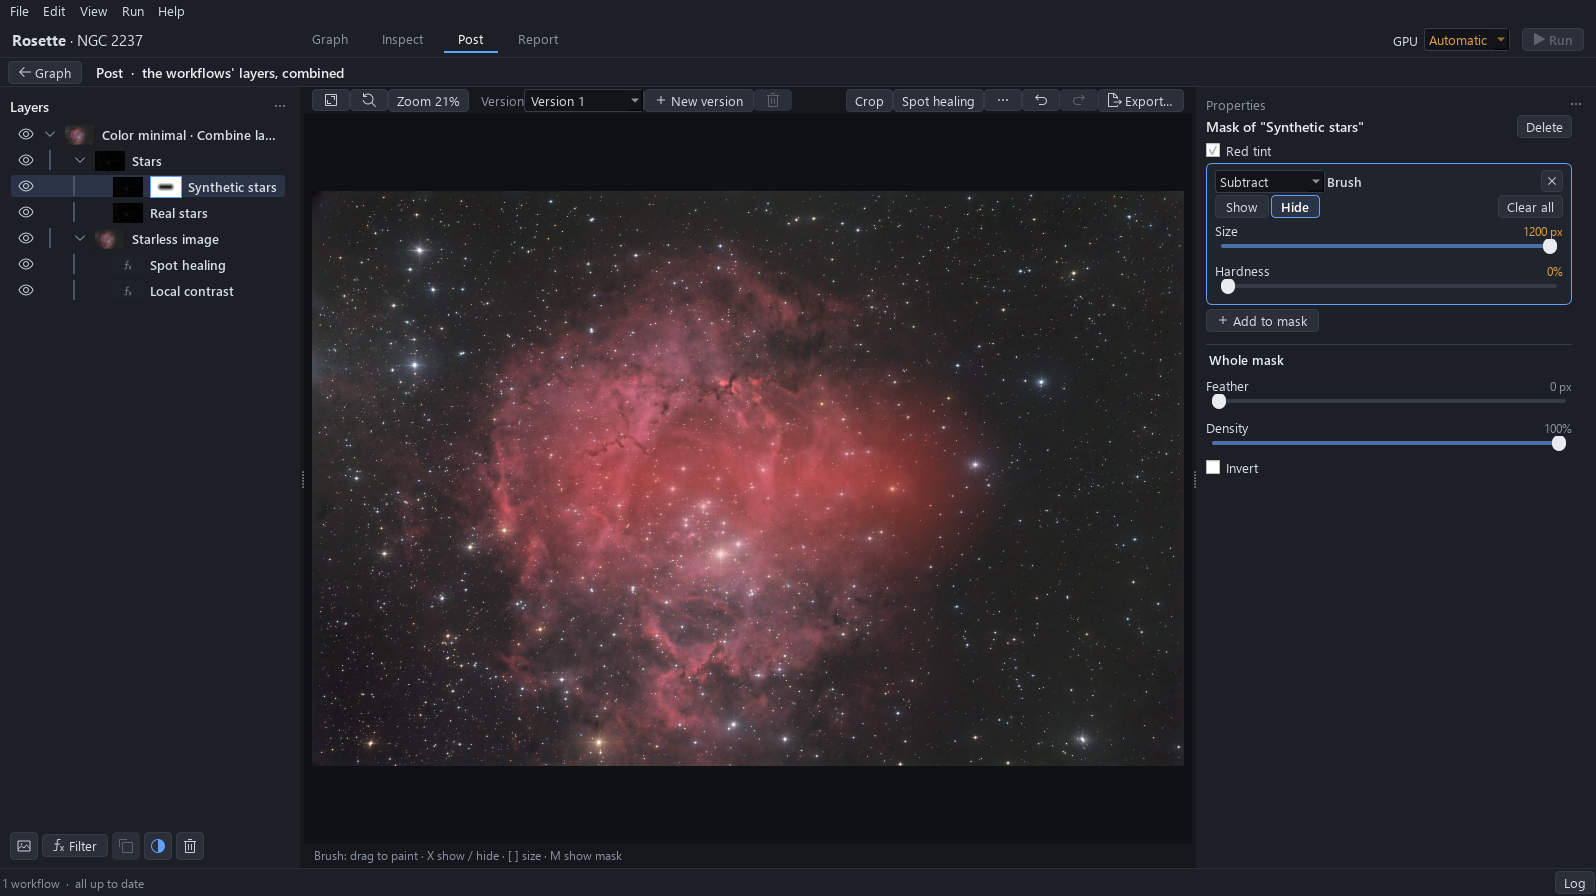
Click the Synthetic stars row, then its mask: the brush appears, set to Subtract (the list also offers Add and Intersect). Drag Size to the right until the brush is as large as it goes, here 1,200 px, and Hardness to 0, then paint one stroke across the centre of the field.
Why. The real stars come back at the centre, where the optics are good; outside it, the round synthetic stars replace the comet-shaped ones. The coma grows from the centre outwards: it is already visible at 1,000 px from the corners, along the whole left edge. Painting the four corners would leave half of the comet-shaped stars in place, whereas painting the one zone where the optics are good is a single gesture and covers all the rest.
Expected result. The thumbnail of the mask shows a dark patch at the centre, and the red tint covers the centre with a soft edge.
9Check at 100 %
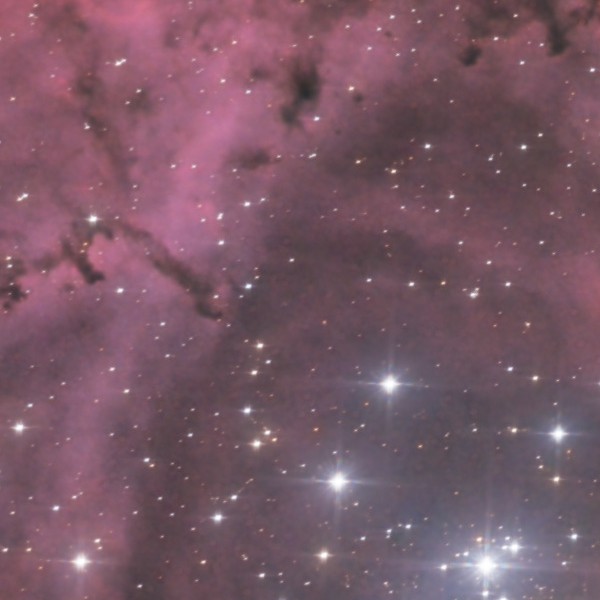
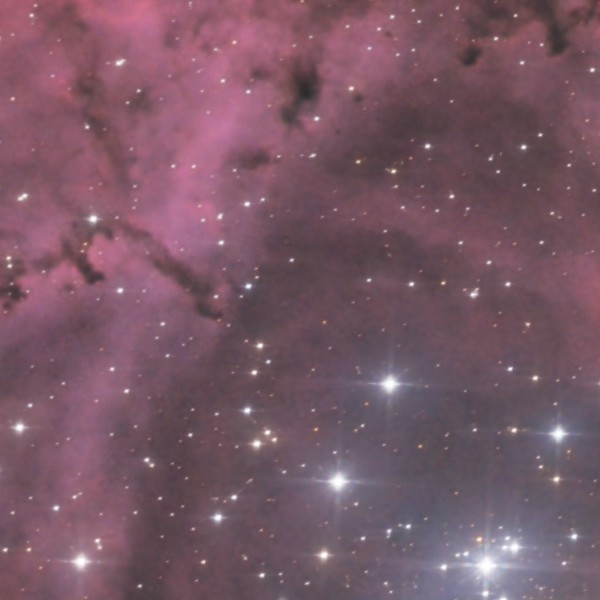
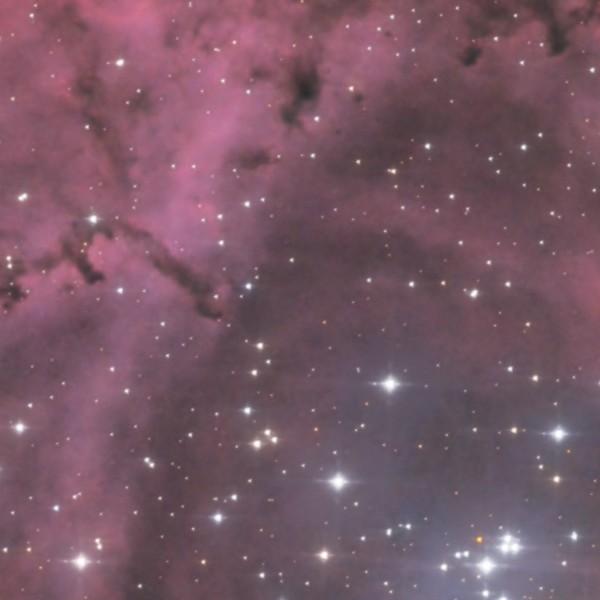
Click the top row of the layer and zoom to 100 % (Ctrl and the mouse wheel) in a corner, then at the centre. In the corner the comet-shaped stars are round; at the centre the real stars are unchanged, with their spikes. On the fitted view, nothing shows where the mask fades, and the star density does not jump.
Why. The brush fades out with Hardness at 0, so the real and the synthetic stars meet without a seam.
10Export
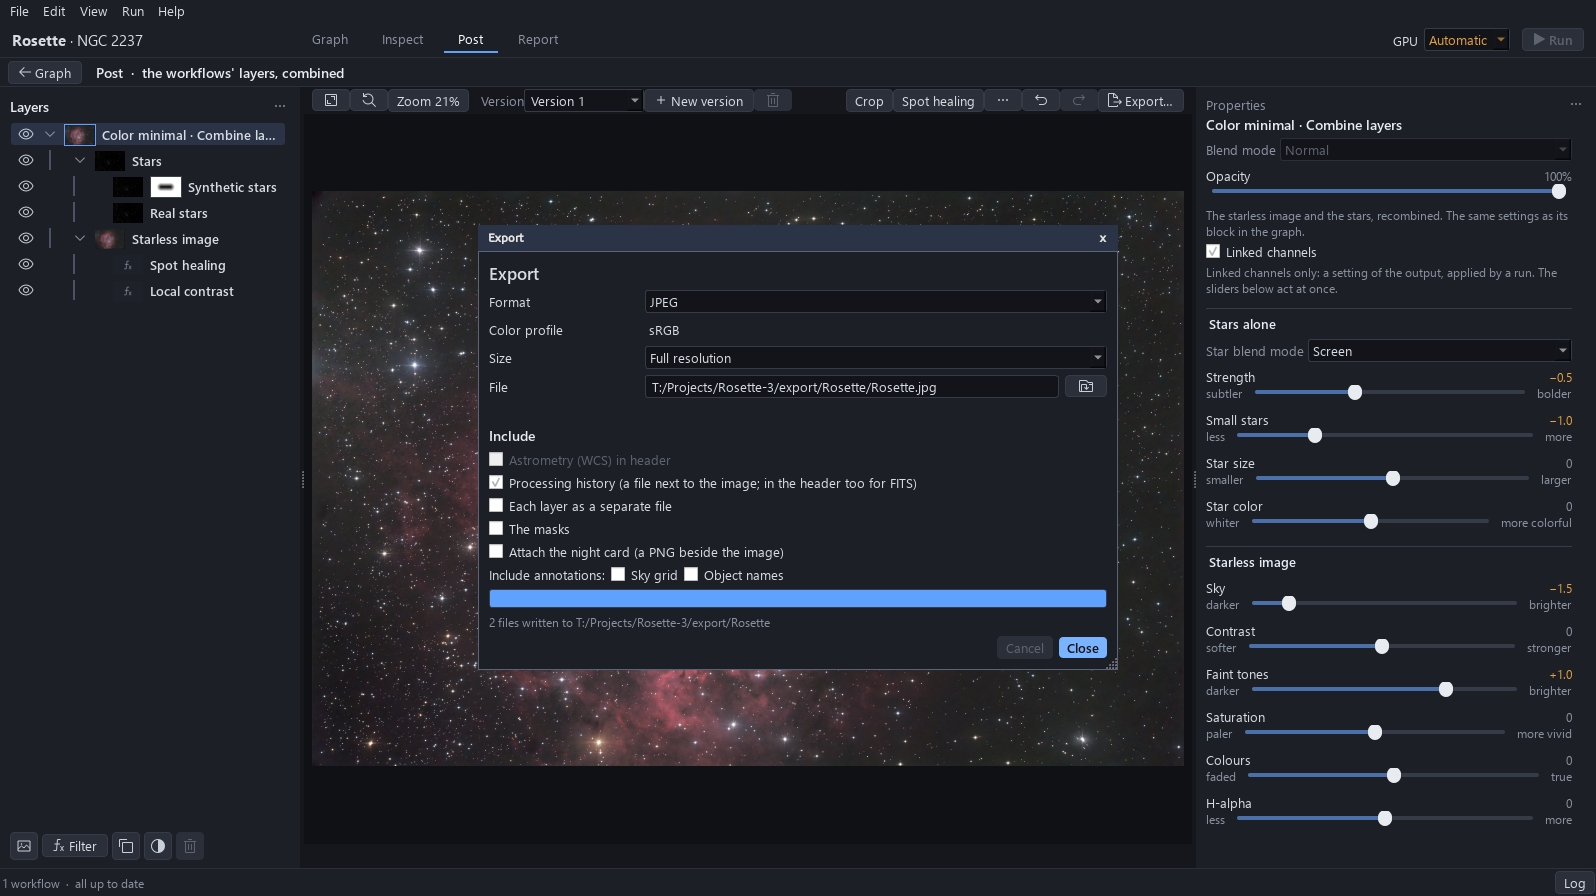
Click Export…, choose JPEG in Format and click Export. The file is named after the project, in its export folder.
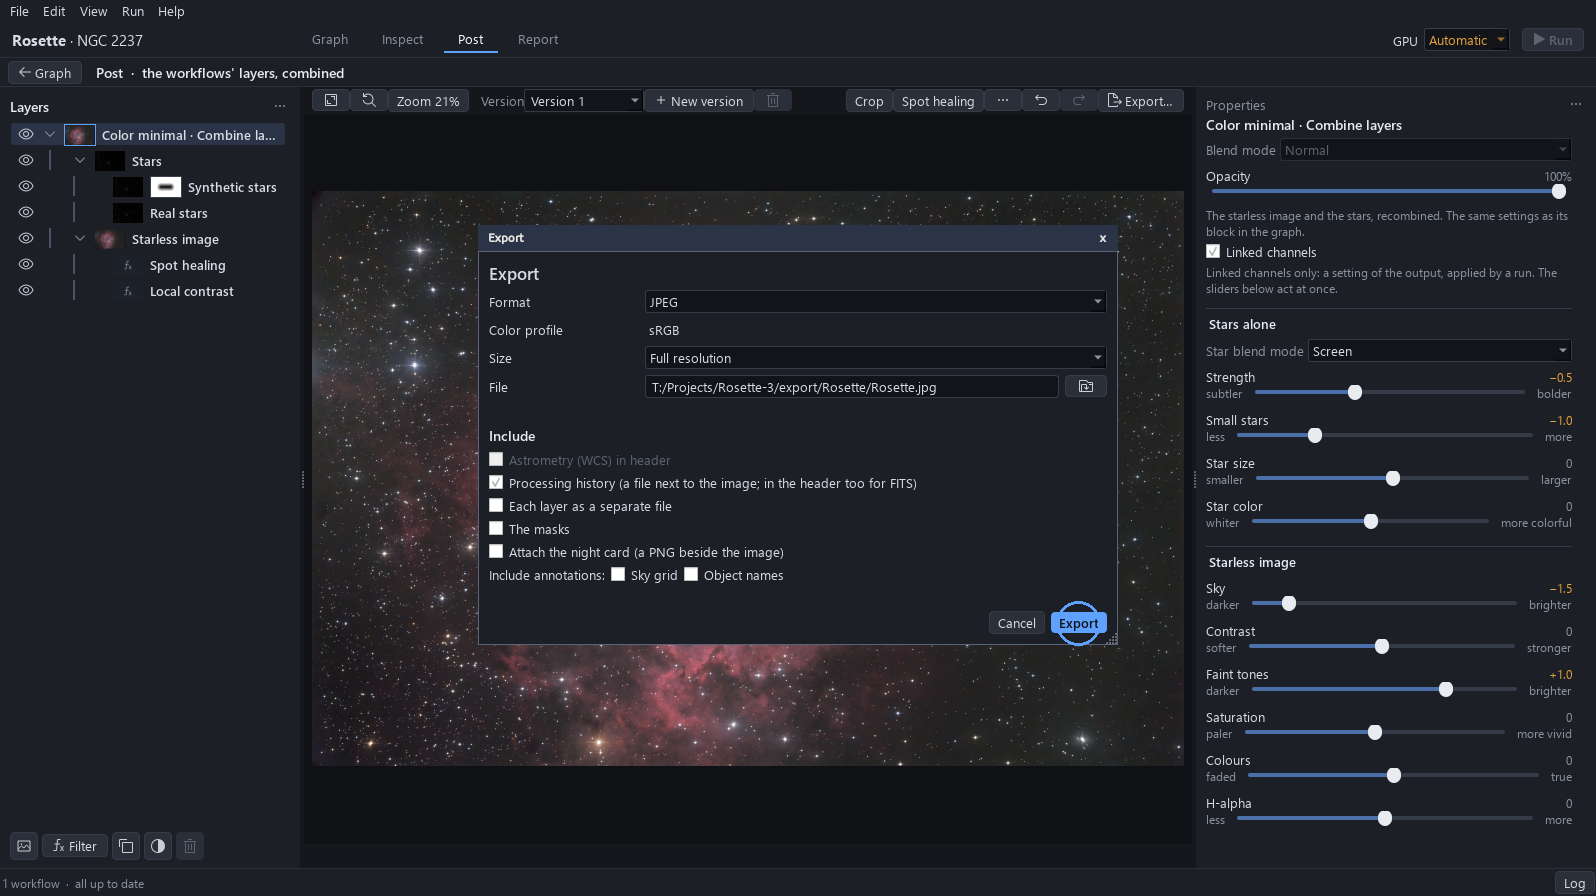
11The image is written
The window says how many files were written: the image and its processing history. Close it. Press Ctrl+S to keep the project with its new block, its widened crop, its two healed spots and its mask.